Home automation with Home Assistant


If you want a live view of your house using cameras, automatically controlled lights or other appliances with an app or through set rules and a lot of other things that makes your home smart, this is the blog for you.
Assumptions
Following are the assumptions I am making about you, the reader of this blog.
- You use Linux (Ubuntu in my case)
- You know something about servers, working with Raspberry pi, website maintenance, etc.
- You know how to use google to find solutions to problems
- You can think for yourself and not depend on google always
Things you need
- Raspberry pi 4 Model B – 4GB
- 15.3 Watt Raspberry pi power supply – 5.1V 3A USB Type C
- Micro SD Card – 32 GB
Optional
Let’s start
First thing is to introduce you to an awesome open-source project called Home-Assistant.
Installation instruction
Go to their home page and navigate to the installation instructions. You can see different instructions for different styles of deployment. I prefer the Raspberry pi deployment because it is inexpensive, has all the features and secure.
RPi image download
Download the Raspberry pi image. You can download the 32 bit image or the 64 bit image – I chose the 64 bit one because it’ll make efficient use of the 64 bit processor of the raspberry pi, but you have to take 32 bit one if you need GPIO support of the Raspberry pi.
Flashing the image to the SD card
The downloaded image will be in the img.xz format. To extract it, use the unxz command. If you don’t have it, you can install it with the following command
sudo apt install xz-utilsOnce it is installed, extract it with the following command
unxz hassos_rpi4-64-x.xx.img.xzOnce the extraction is complete, you can put the micro SD card into the card reader, connect it to your PC and check the place where it is mounted.
df -hThe above command gives the partitions and their mount locations with the storage usage details
Once you find the SD card, unmount it by running the following command – make sure to replace the path with the path you got from the above command
sudo umount /media/vignesh/xxxx-xxxxAlso not down the device path like /dev/sdd or /dev/sdc etc.
Once that is obtained, run the following command to start the flashing.
CAUTION: The following step must be done carefully. If you mess up the device path, the partition in your PC harddrive can be overwritten and there will be data loss.
sudo dd bs=4M if=hassos_rpi4-64-x.xx.img of=/dev/sxx conv=fsyncThe 4M block size should work, but if it doesn’t, you can change it to 1M but it will take a lot more time.
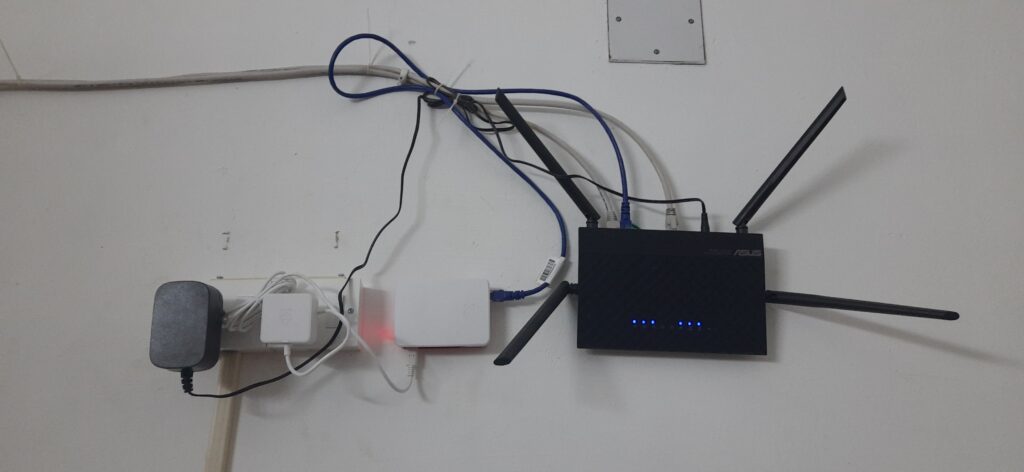
Working with Raspberry pi
Once the image is flashed, put the memory card into the Raspberry pi, connect it to your home network (Router/Switch) and give it a static IP (optional but will prevent a lot of headaches later) in your router.
Configuring the Home-Assistant
Take your PC and go to http://homeassistant.local:8123/ and you’ll see the following screen. You don’t have to do anything to get that DNS resolution to work unless you use a router that doesn’t support mDNS.
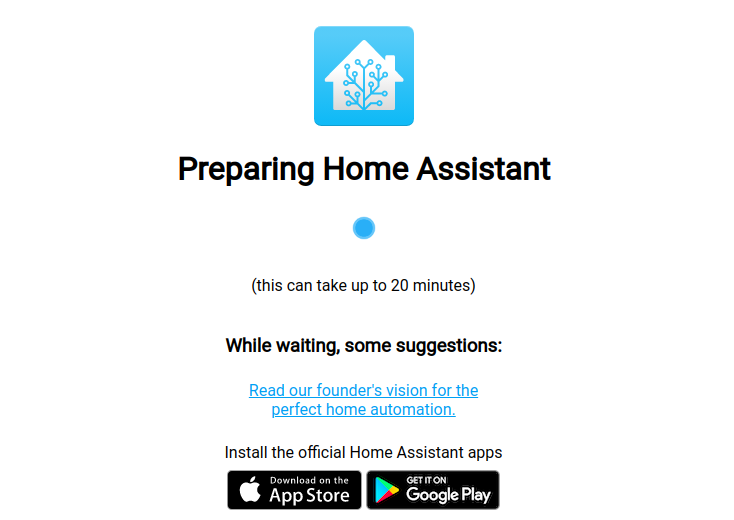
This will be a good time to download the phone app. It is the best.
After the wait, you’ll see the setup page for the first account. This will be the admin account for your home assistant installation
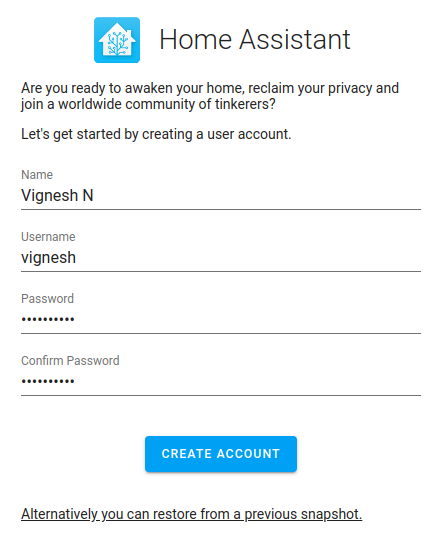
If you had used Home-Assistant previously, you can restore it from the previous snapshot on this screen.
Once you create the account, you are asked to give a name to the house where you are setting up this Home-Assistant, and you are asked to show the location on the map – this is for setting the home zone which can be used for automation triggers in the future.
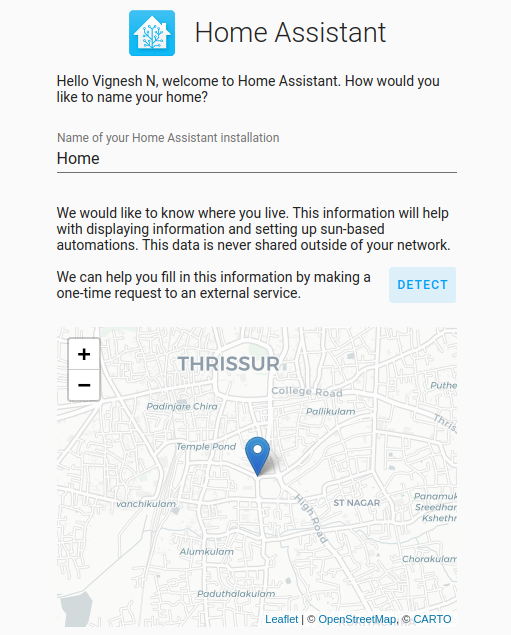
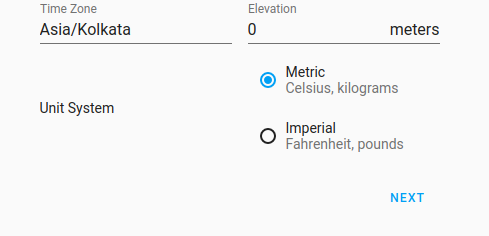
Scrolling down, you can see it asking for additional information like time zone, elevation, unit system etc.
Once that is filled in, click the next button which will take you to the integrations page. You can setup integrations now or later.
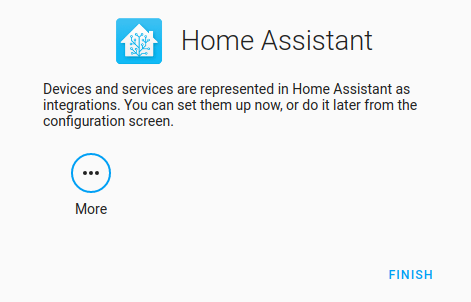
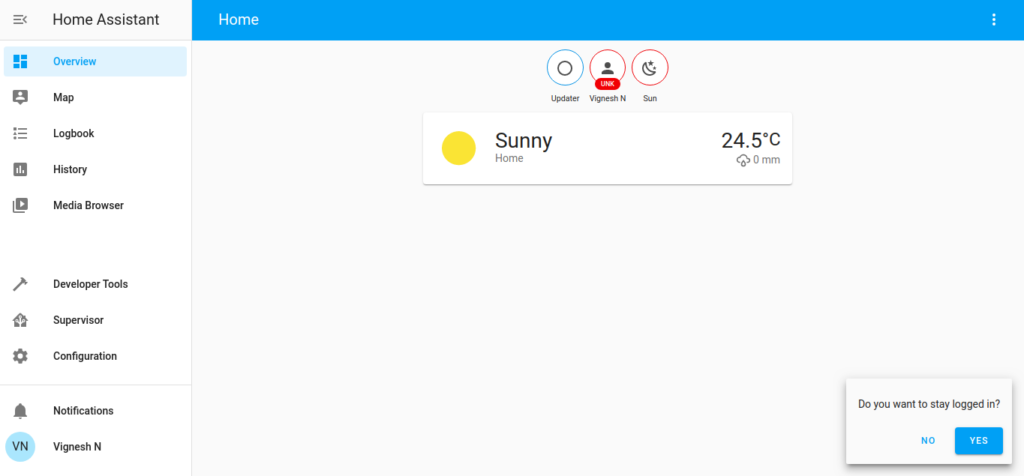
Click on finish button on the above page and you’ll see the beautiful Home-Assistant dashboard.
That’s it…
Now that your Home-Assistant is setup, you can start tinkering with it. There are a lot of resources for learning. Most of the integrations comes with documentation and it’s really easy to follow them.
Continuation – Remote access
A new blog will come in the future which explains the different ways in which you can make your Home-Assistant accessible from the internet. (If you like to live dangerously – I do)