Setup Azure Virtual WAN - P2S OpenVPN with AD Integration


Why do we use Azure Virtual WAN instead of Azure Virtual Network Gateway?
Azure Virtual Network Gateway won't allow us to connect to the internet through the VPN connection.
How to setup Azure Virtual WAN for VPN?
The following are the major steps included in setting up Virtual WAN.
✅Create Virtual WAN
✅Create Virtual Hub
✅Setup Azure Firewall
✅Create Azure Firewall Policy
✅Associate Virtual Hub with Firewall Policy
✅Update Routing Intent & Routing Policies
✅Update Route Tables
✅Download VPN Configuration
✅Modify VPN Configuration
✅VPN Client Setup - Apple macOS
✅VPN Client Setup - Microsoft Windows
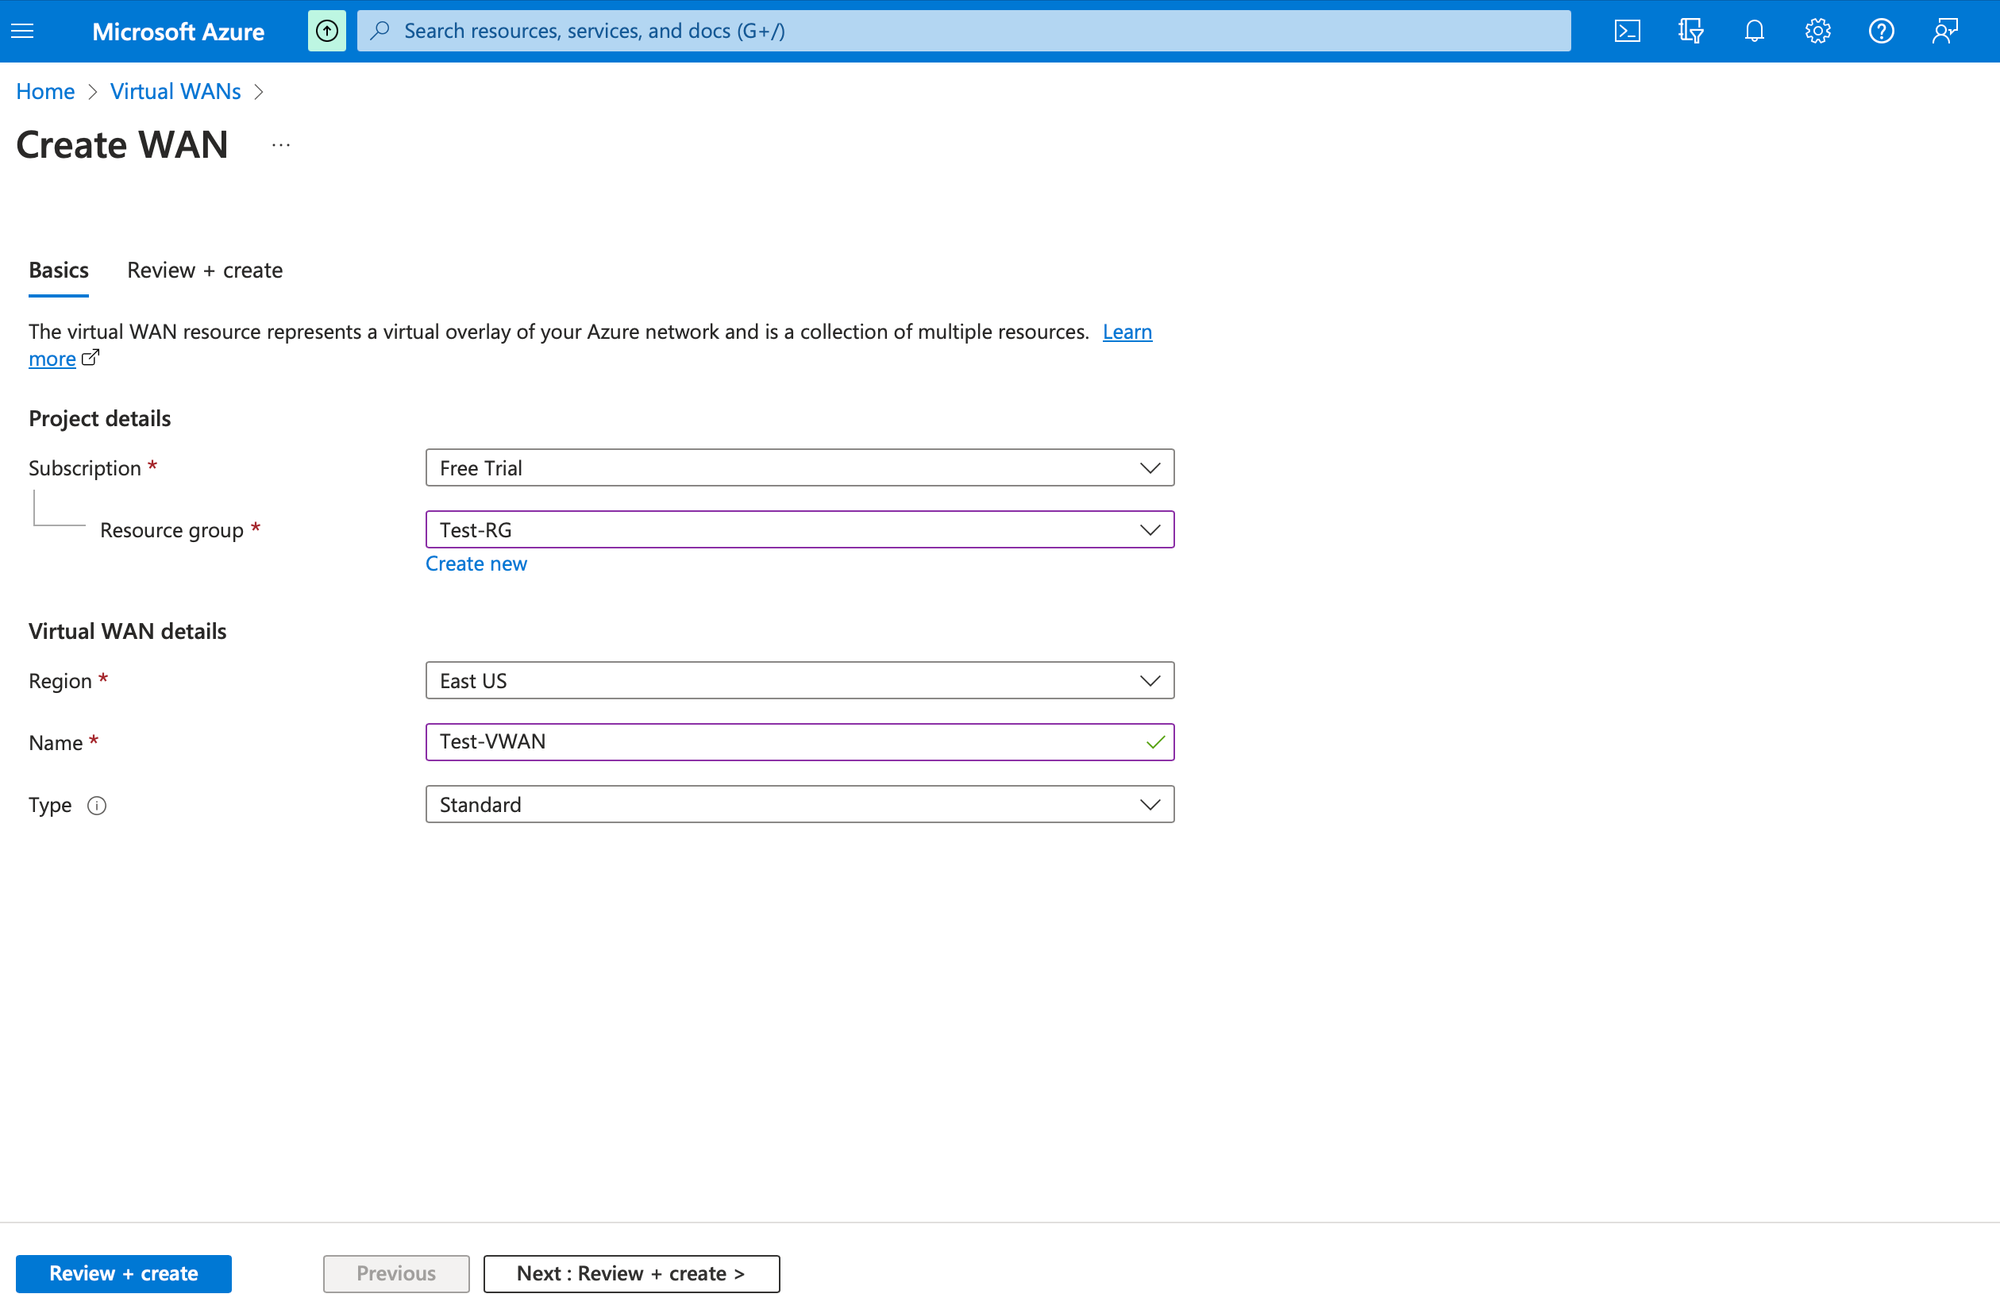
Create Virtual WAN
Login to Azure Portal and navigate to Azure Virtual WAN and click on create. Choose the Resource Group and Region and provide a Name. Click on Review+create and create the resource.
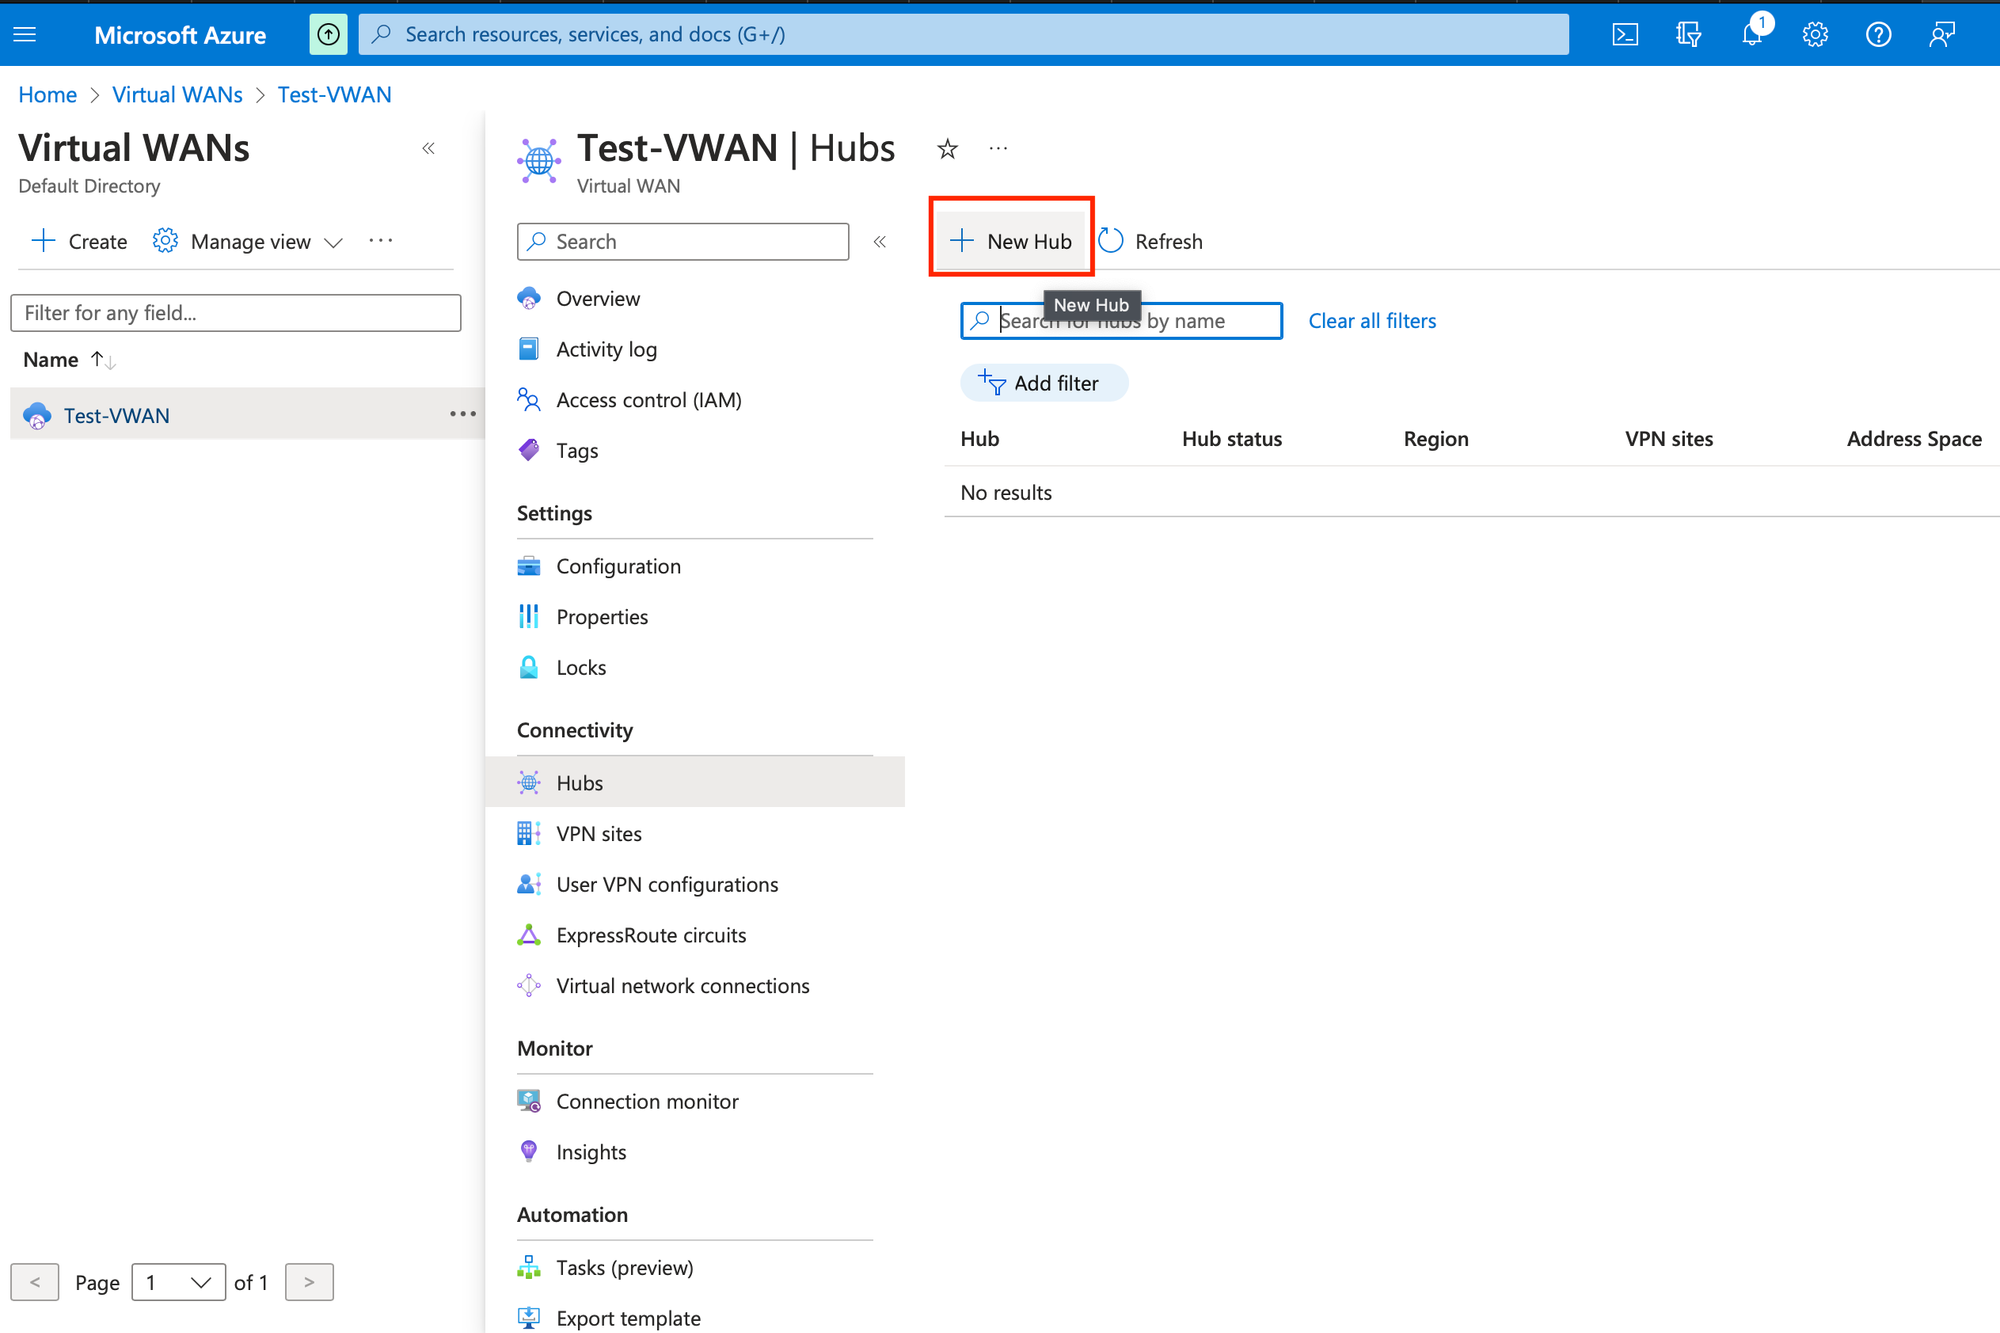
Create Virtual Hub
Once the Virtual WAN is created, choose the created resource and click on Hubs under Connectivity and click on New Hub.
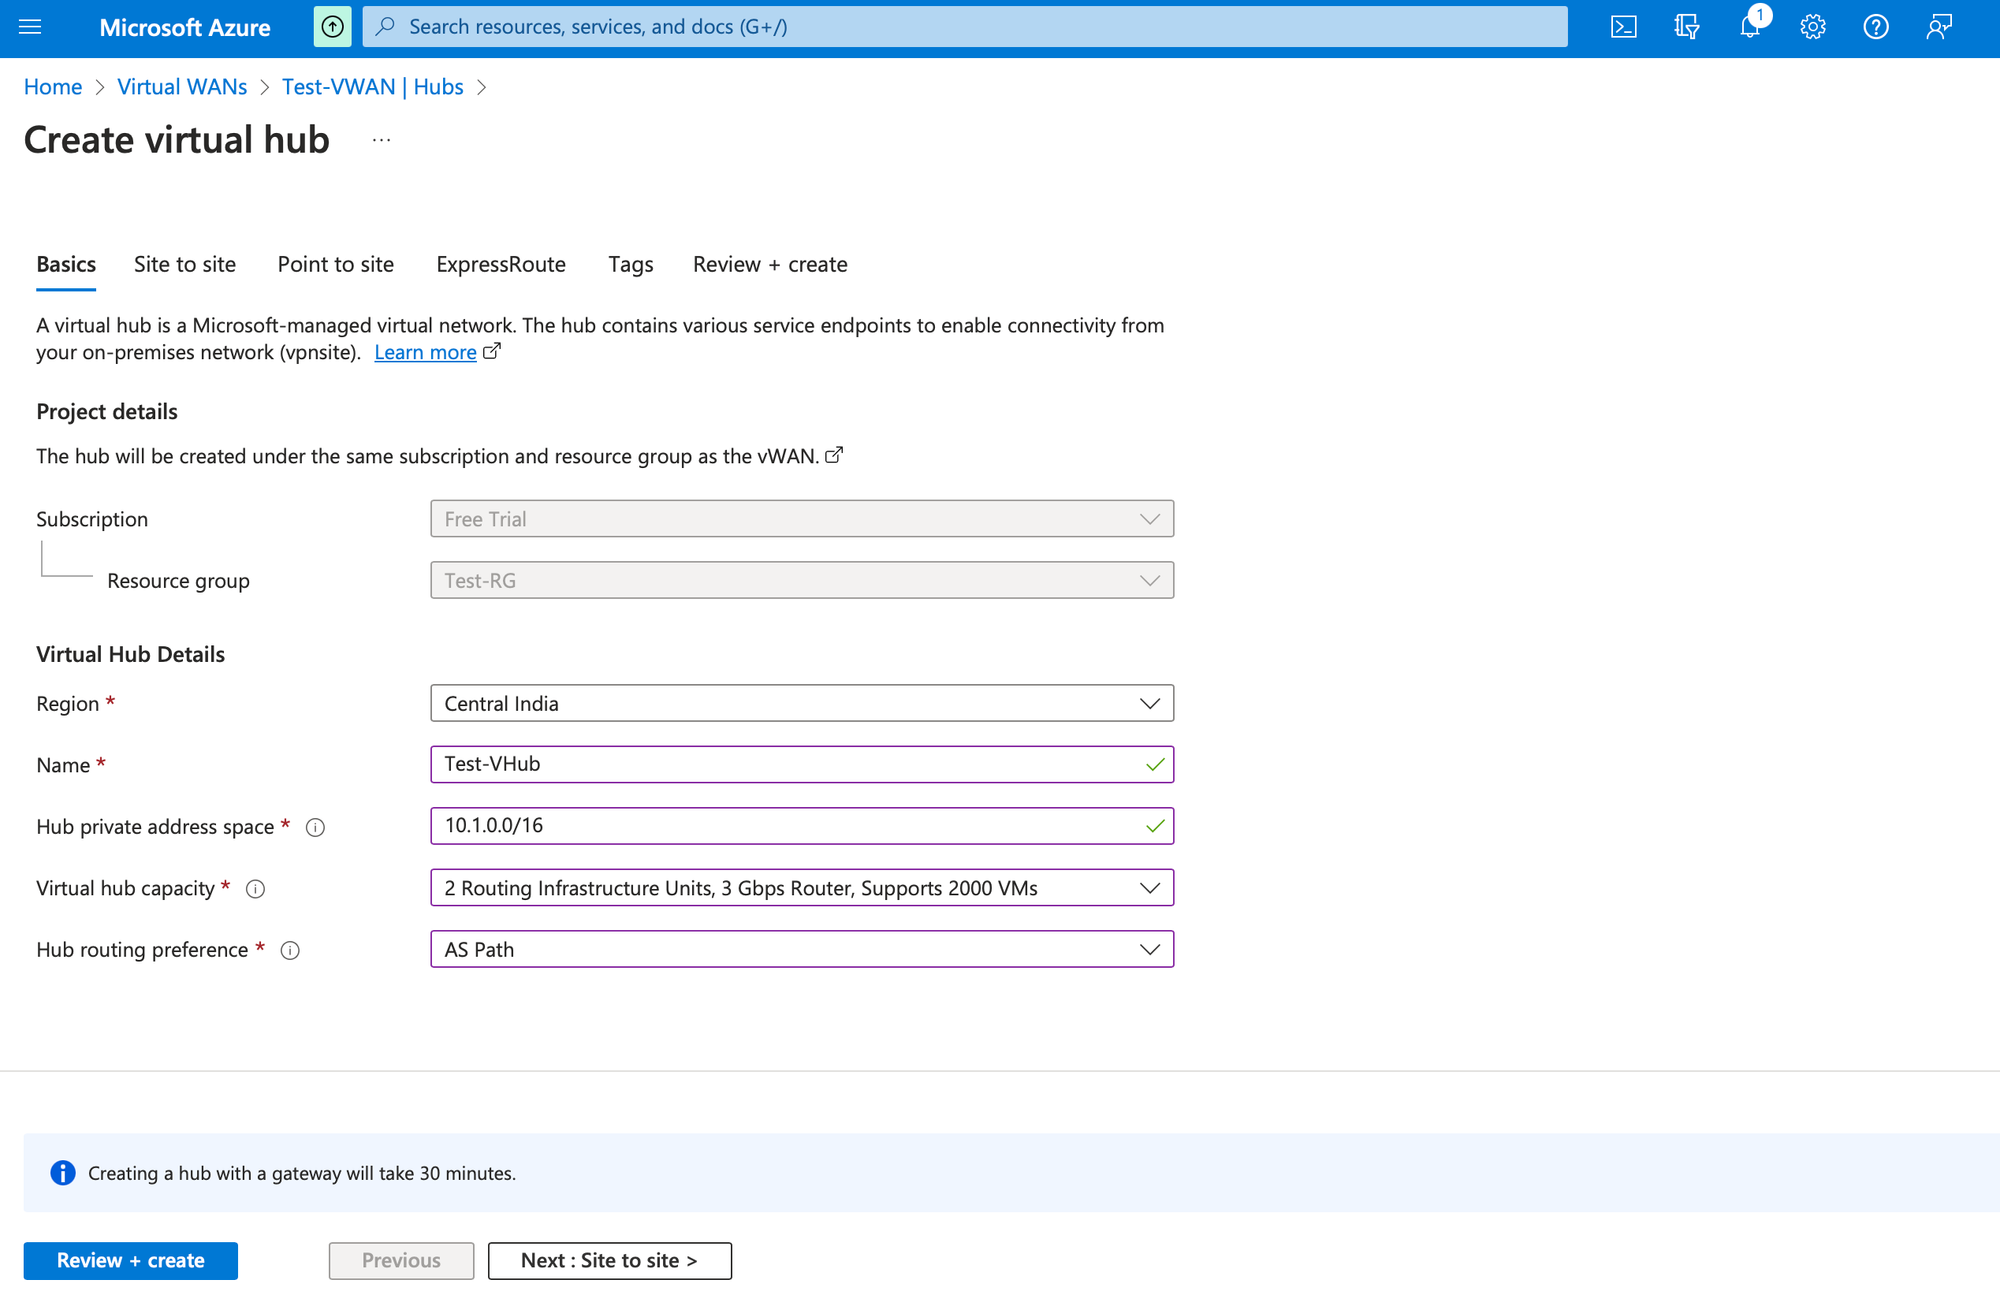
Choose the Region. Provide Name, Hub private address space, Virtual hub capacity, Hub routing preference as in the screenshot below. Modify as required.
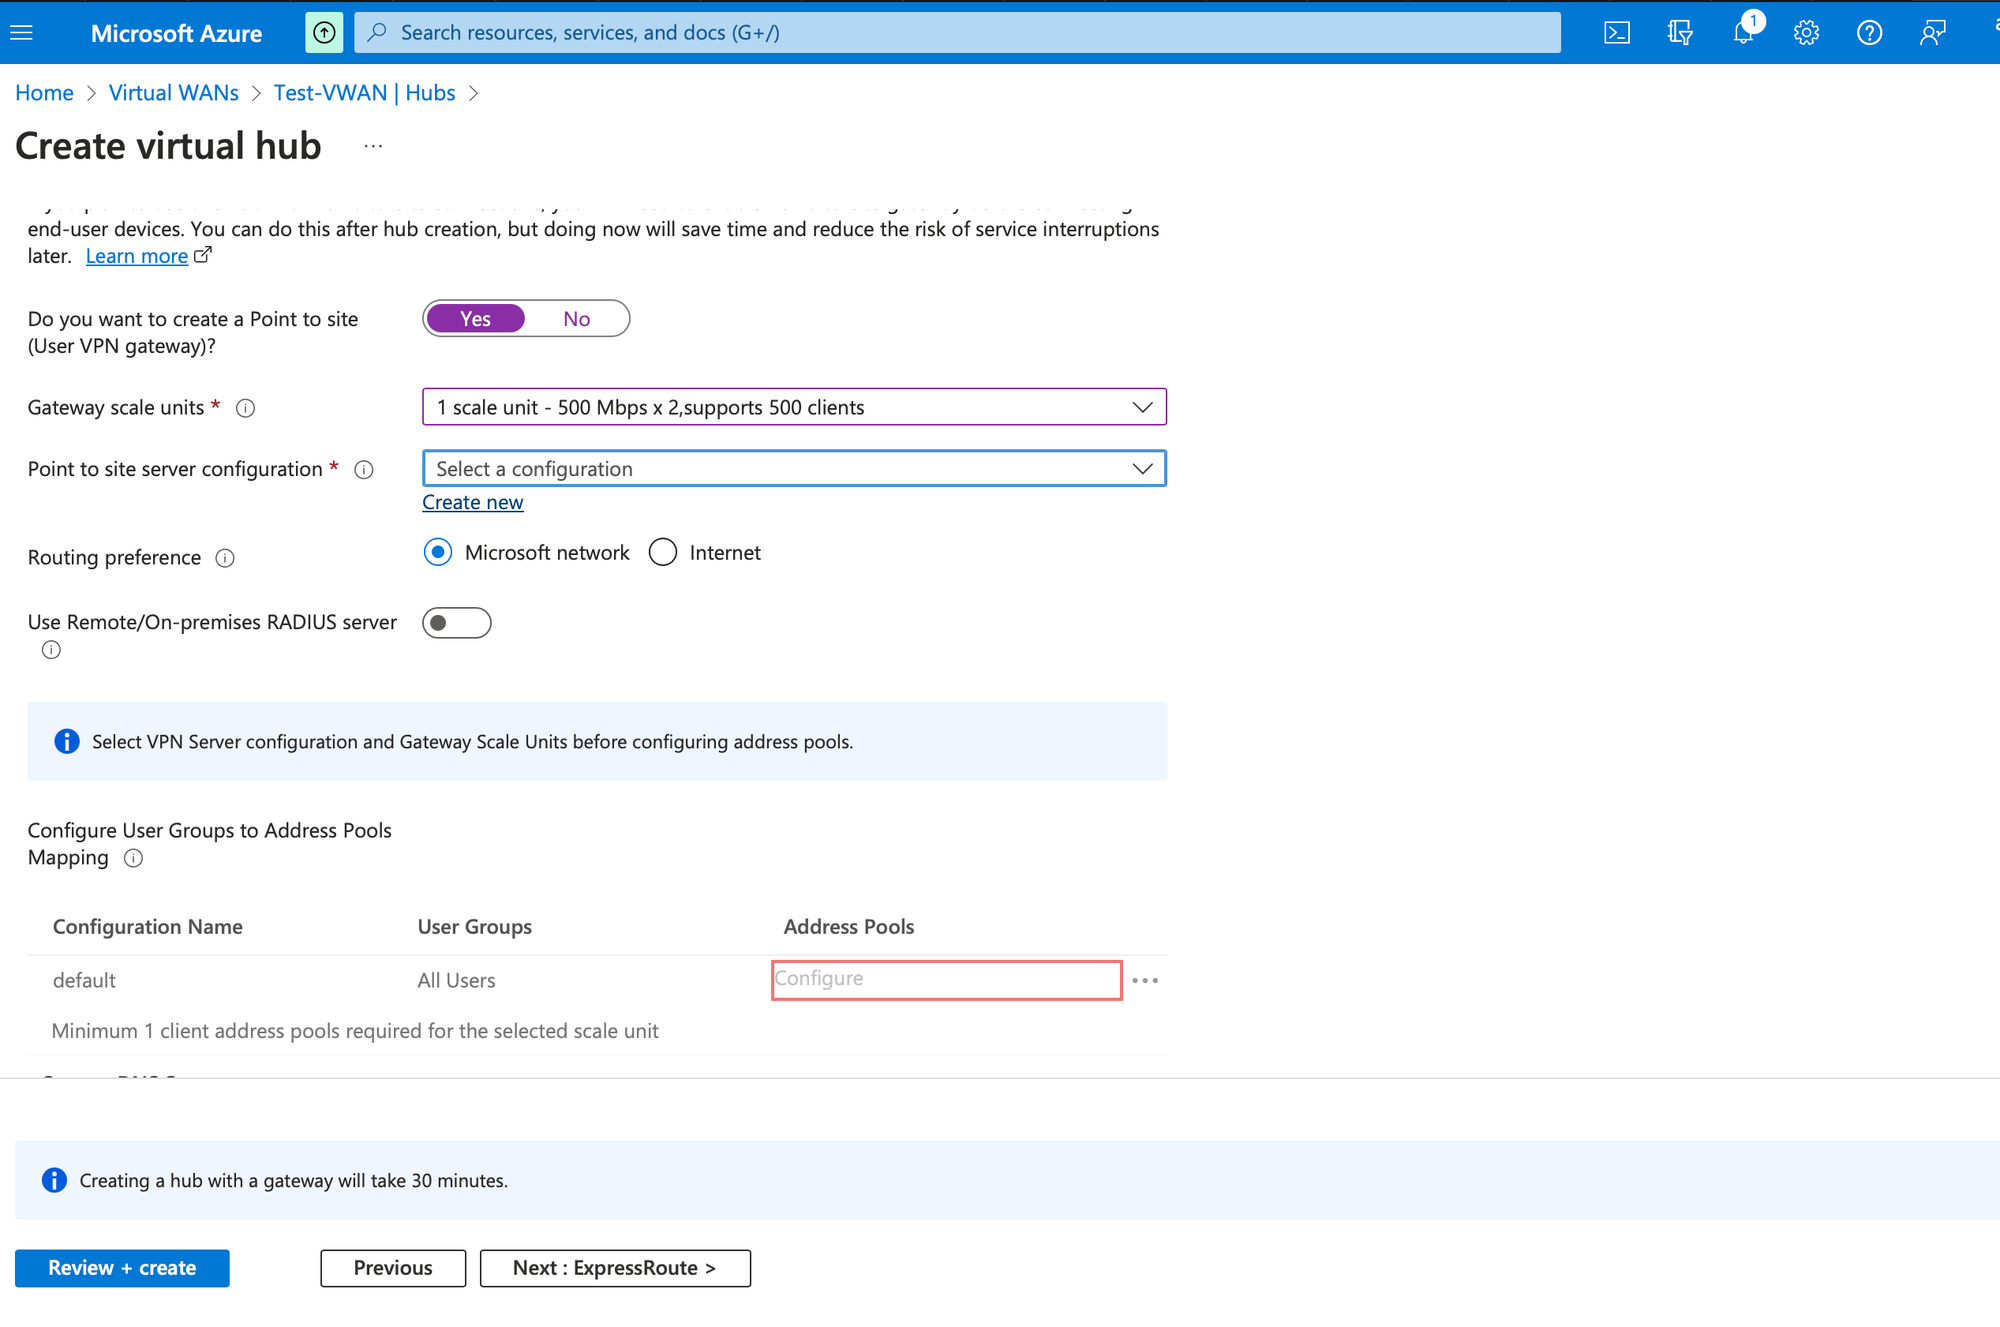
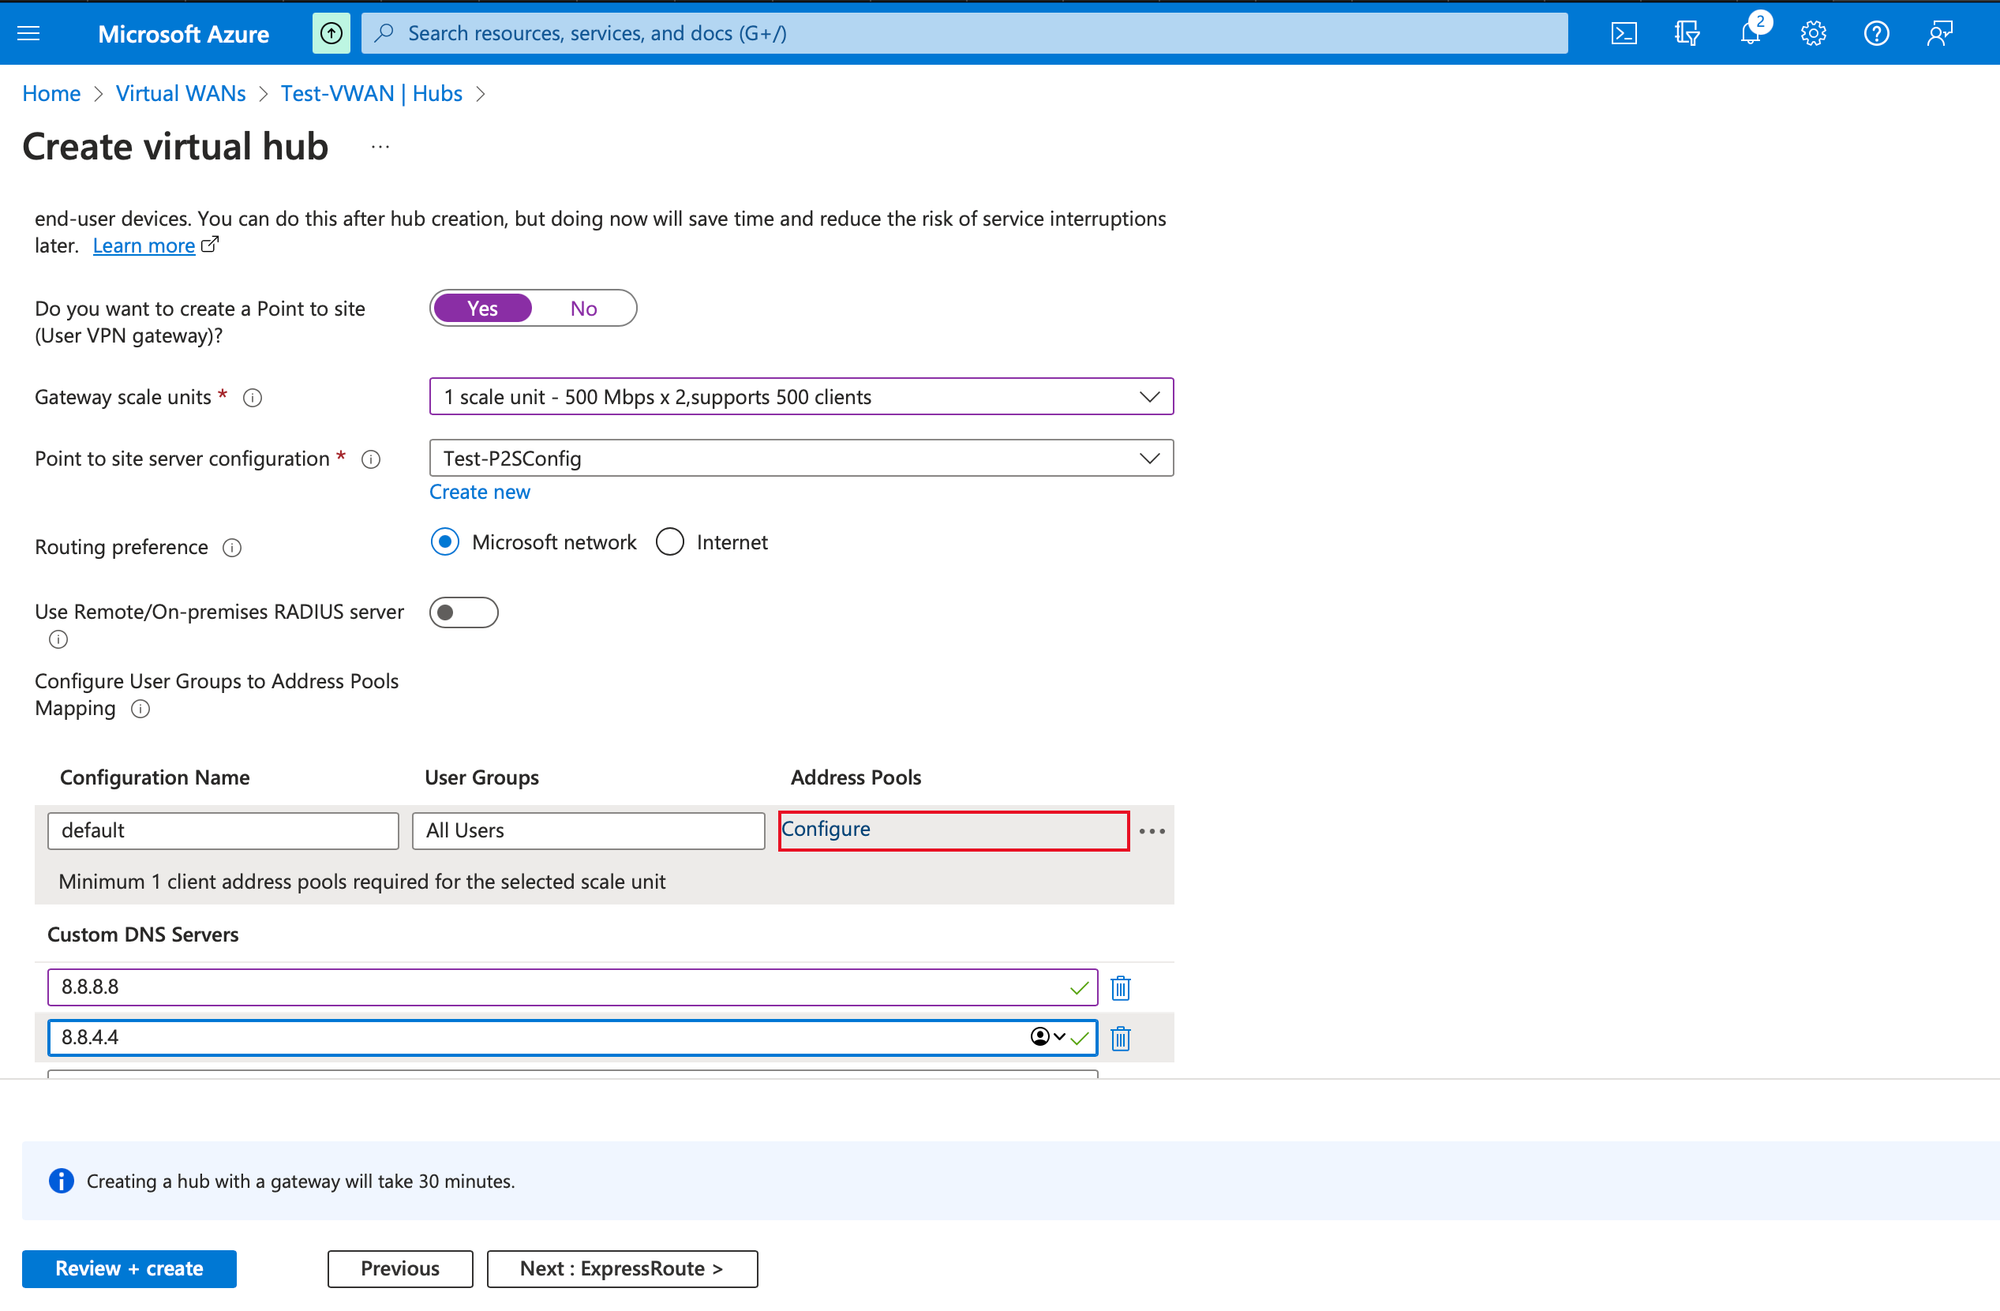
Provide Gateway scale units, and click on create new under Point to server configuration
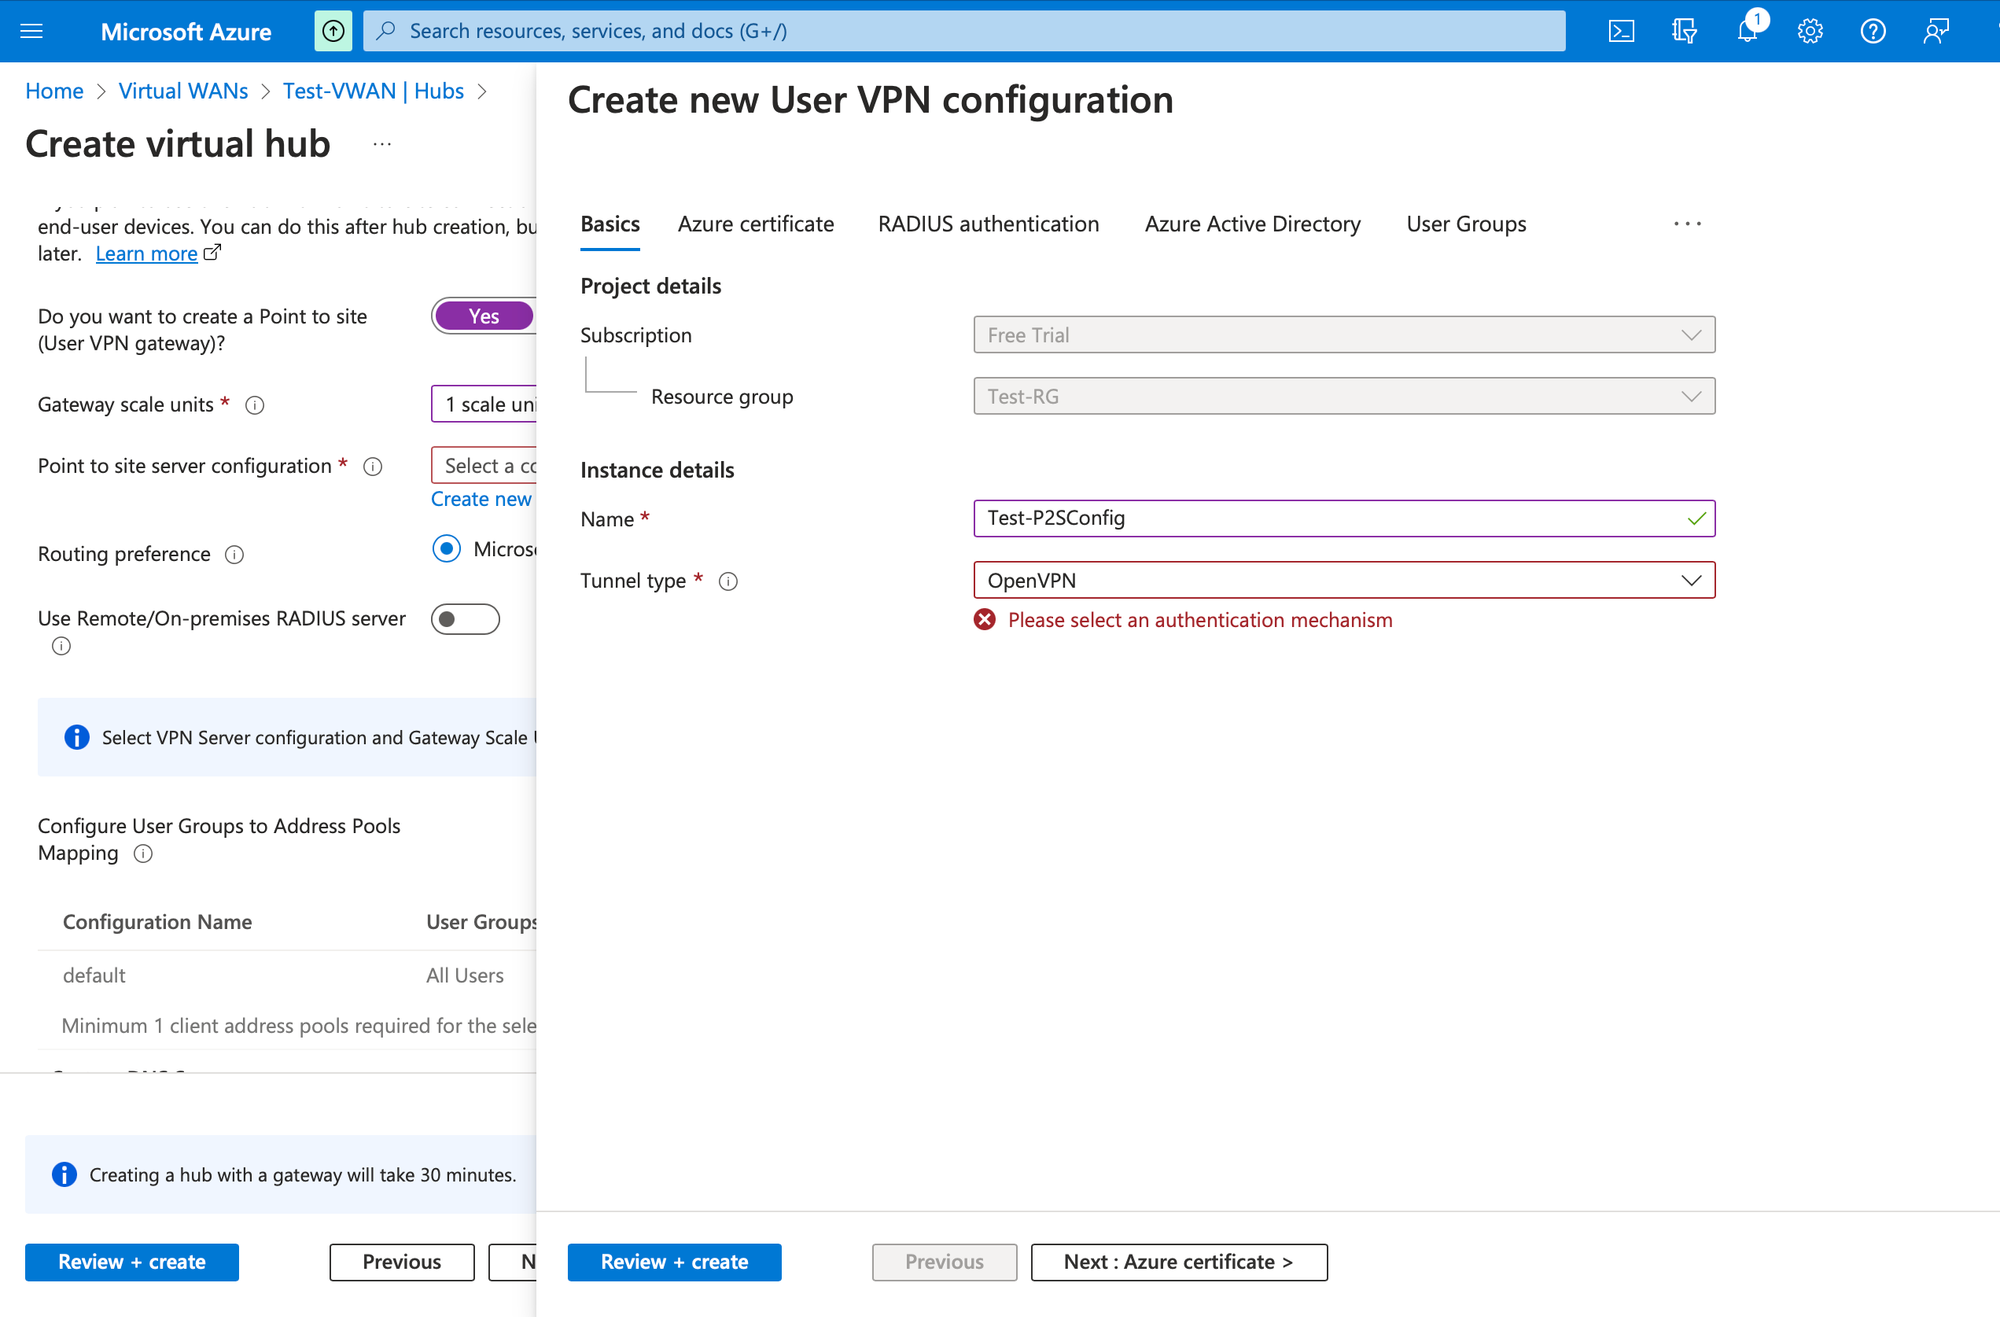
Provide a Name for new user configuration and choose tunnel type as OpenVPN in the Basics tab.
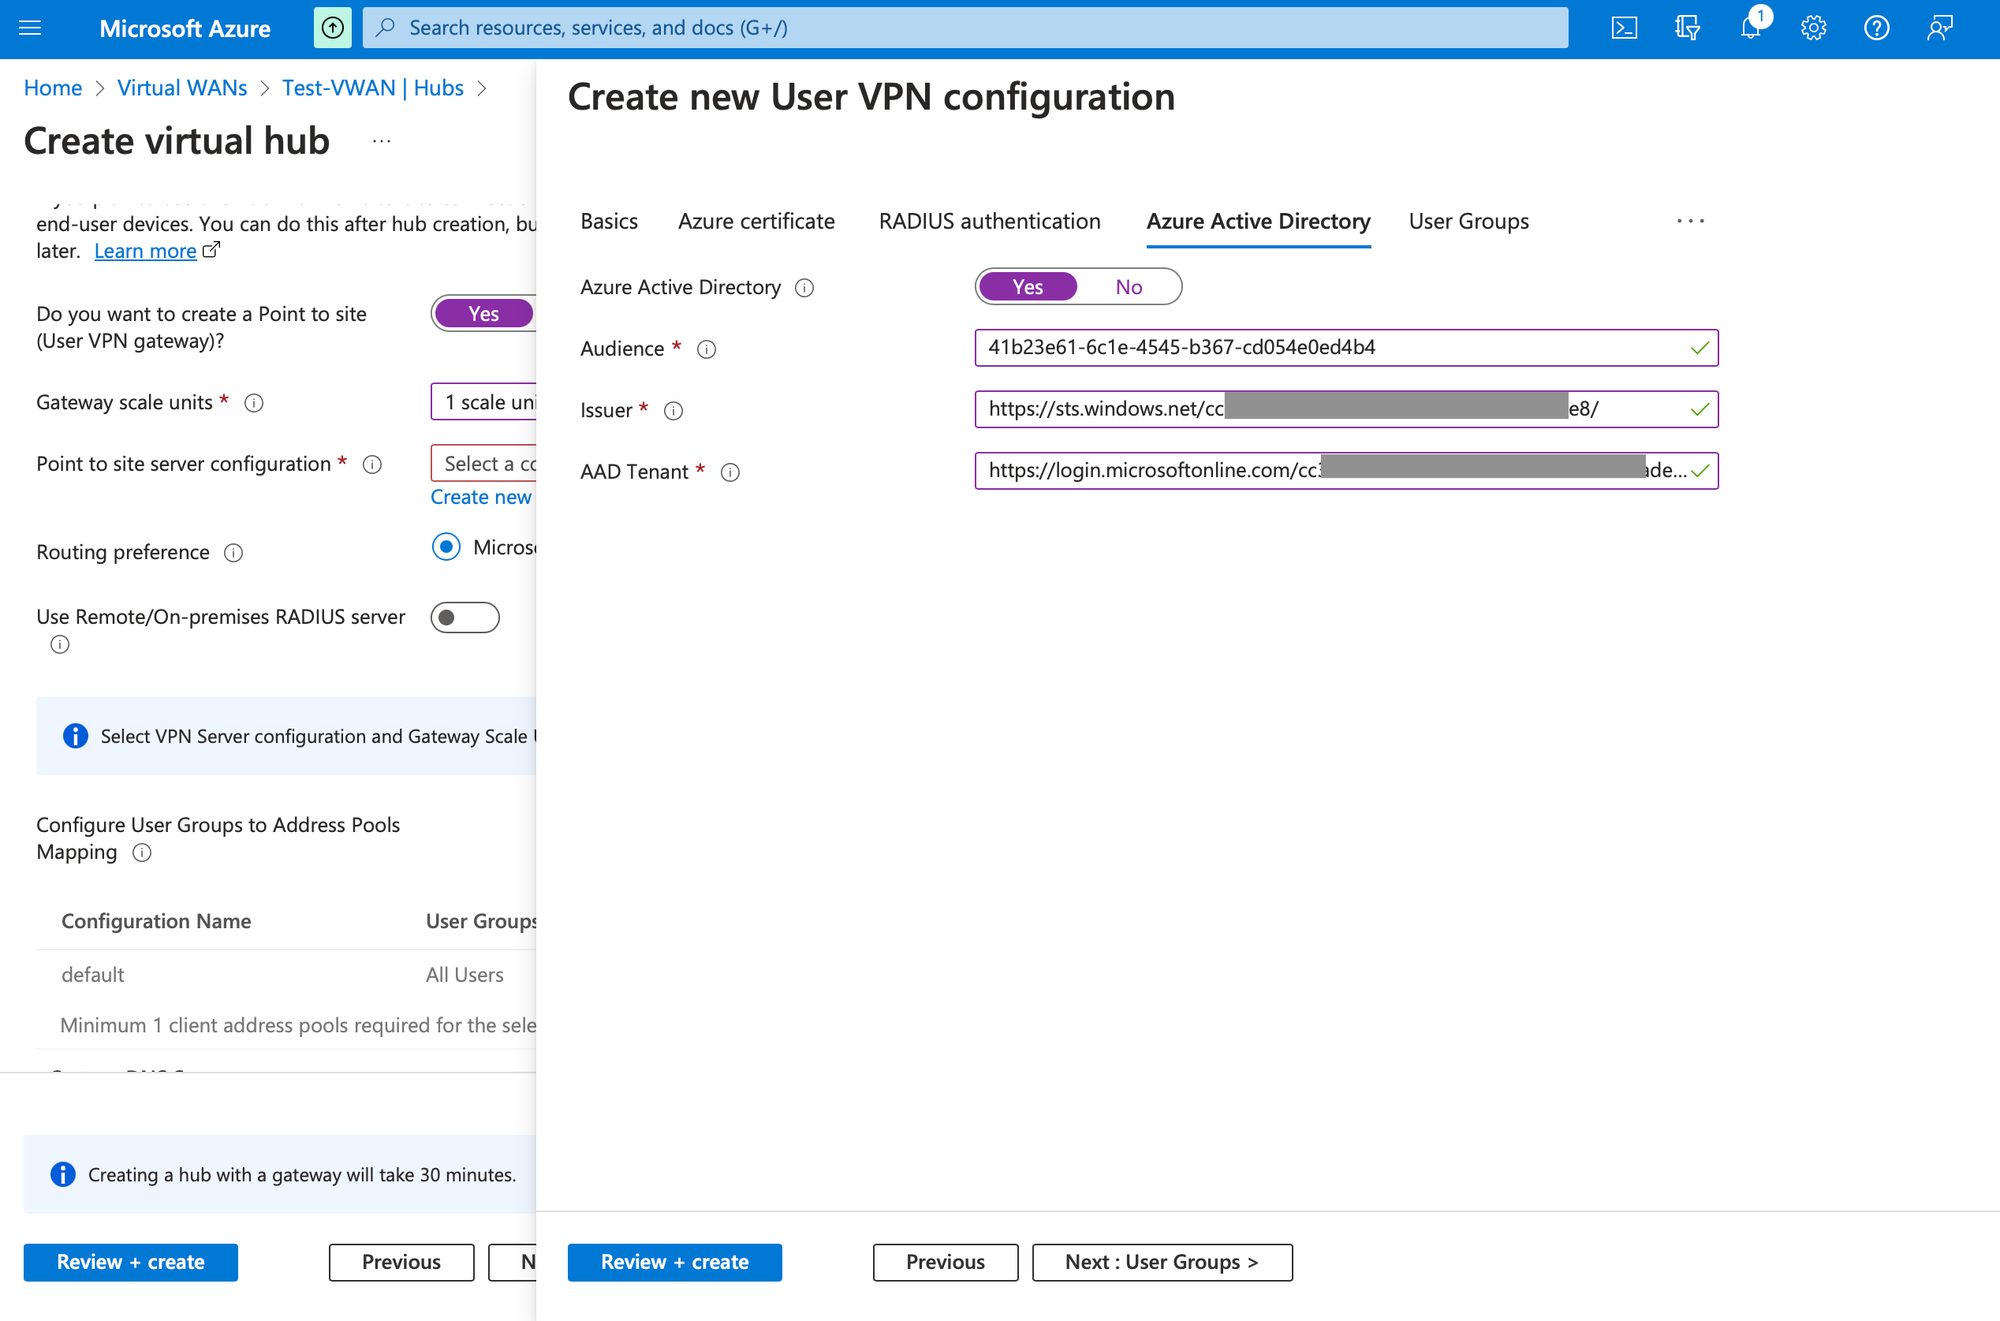
Got to Azure Active Directory tab and provide the same value as in the screenshot for Audience. For Issuer https://sts.windows.net/TENANT_ID/ and for AAD Tenant https://login.microsoftonline.com/TENANT_ID/
You can find you Tenant ID by visiting Azure Active Directory home page.
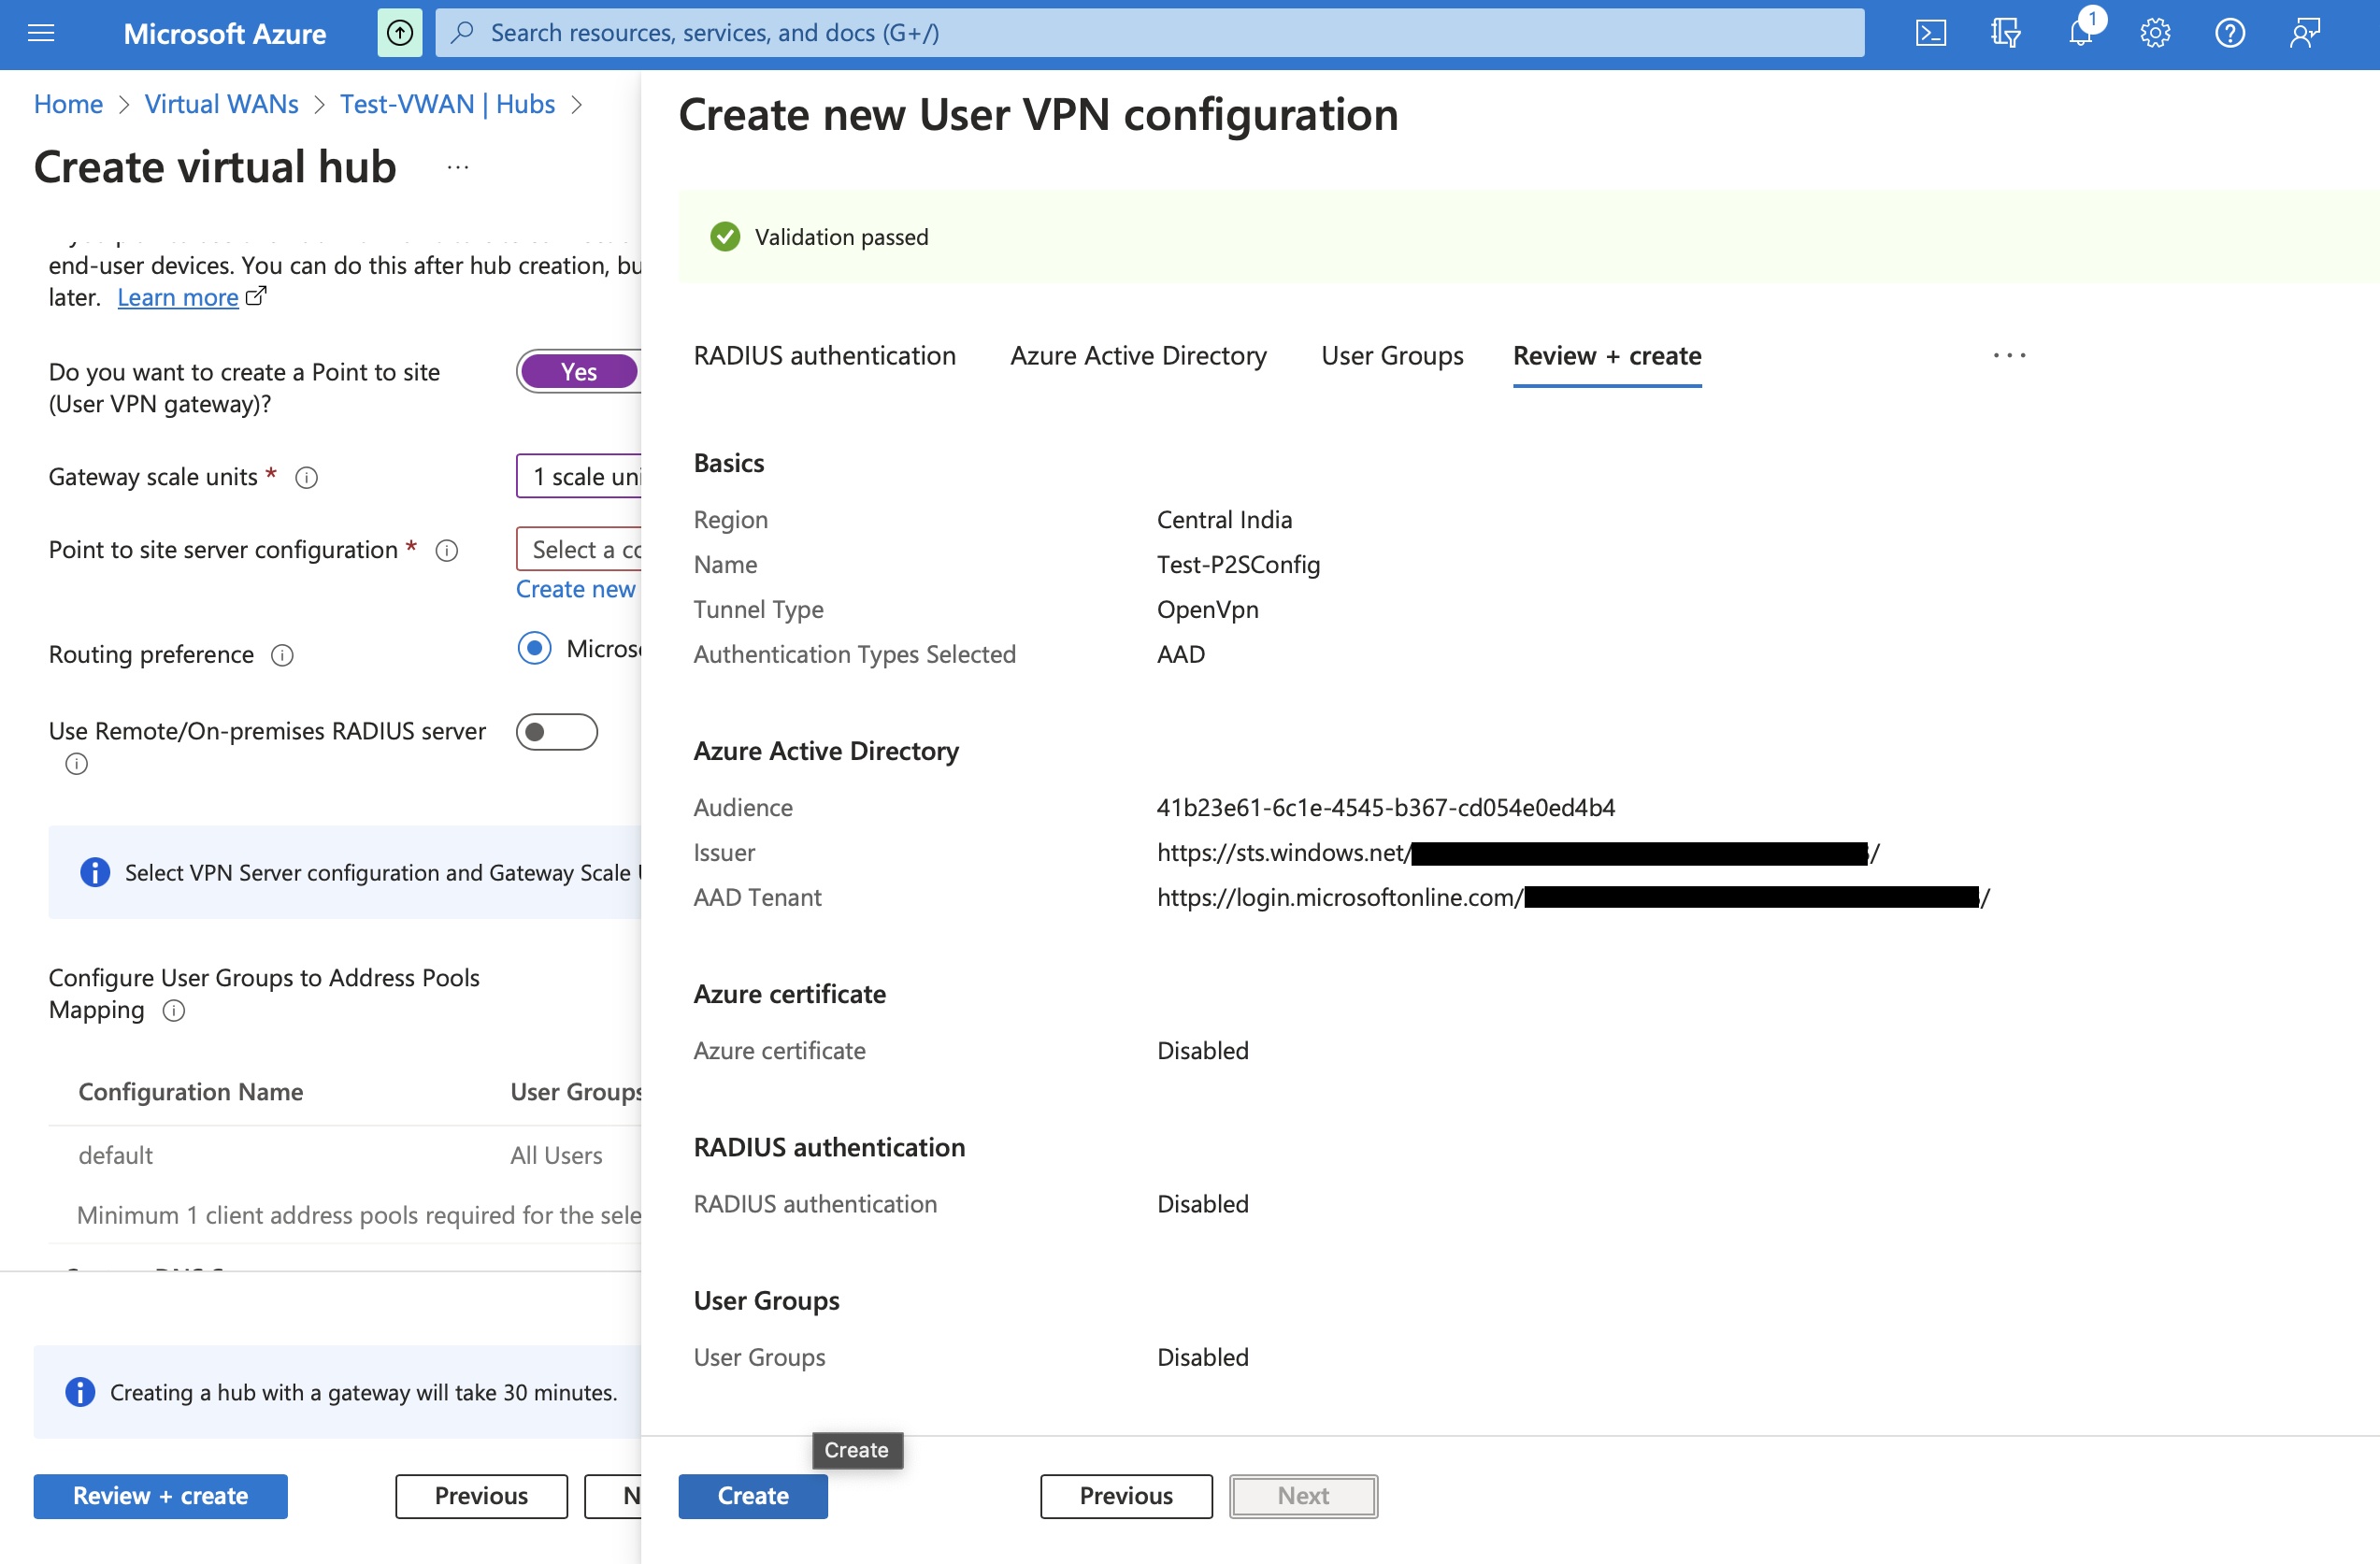
Now click on Review+create and create after validation.
Provide custom DNS as required and click on configure in Address Pools under Configure User Groups to Address Pools Mapping
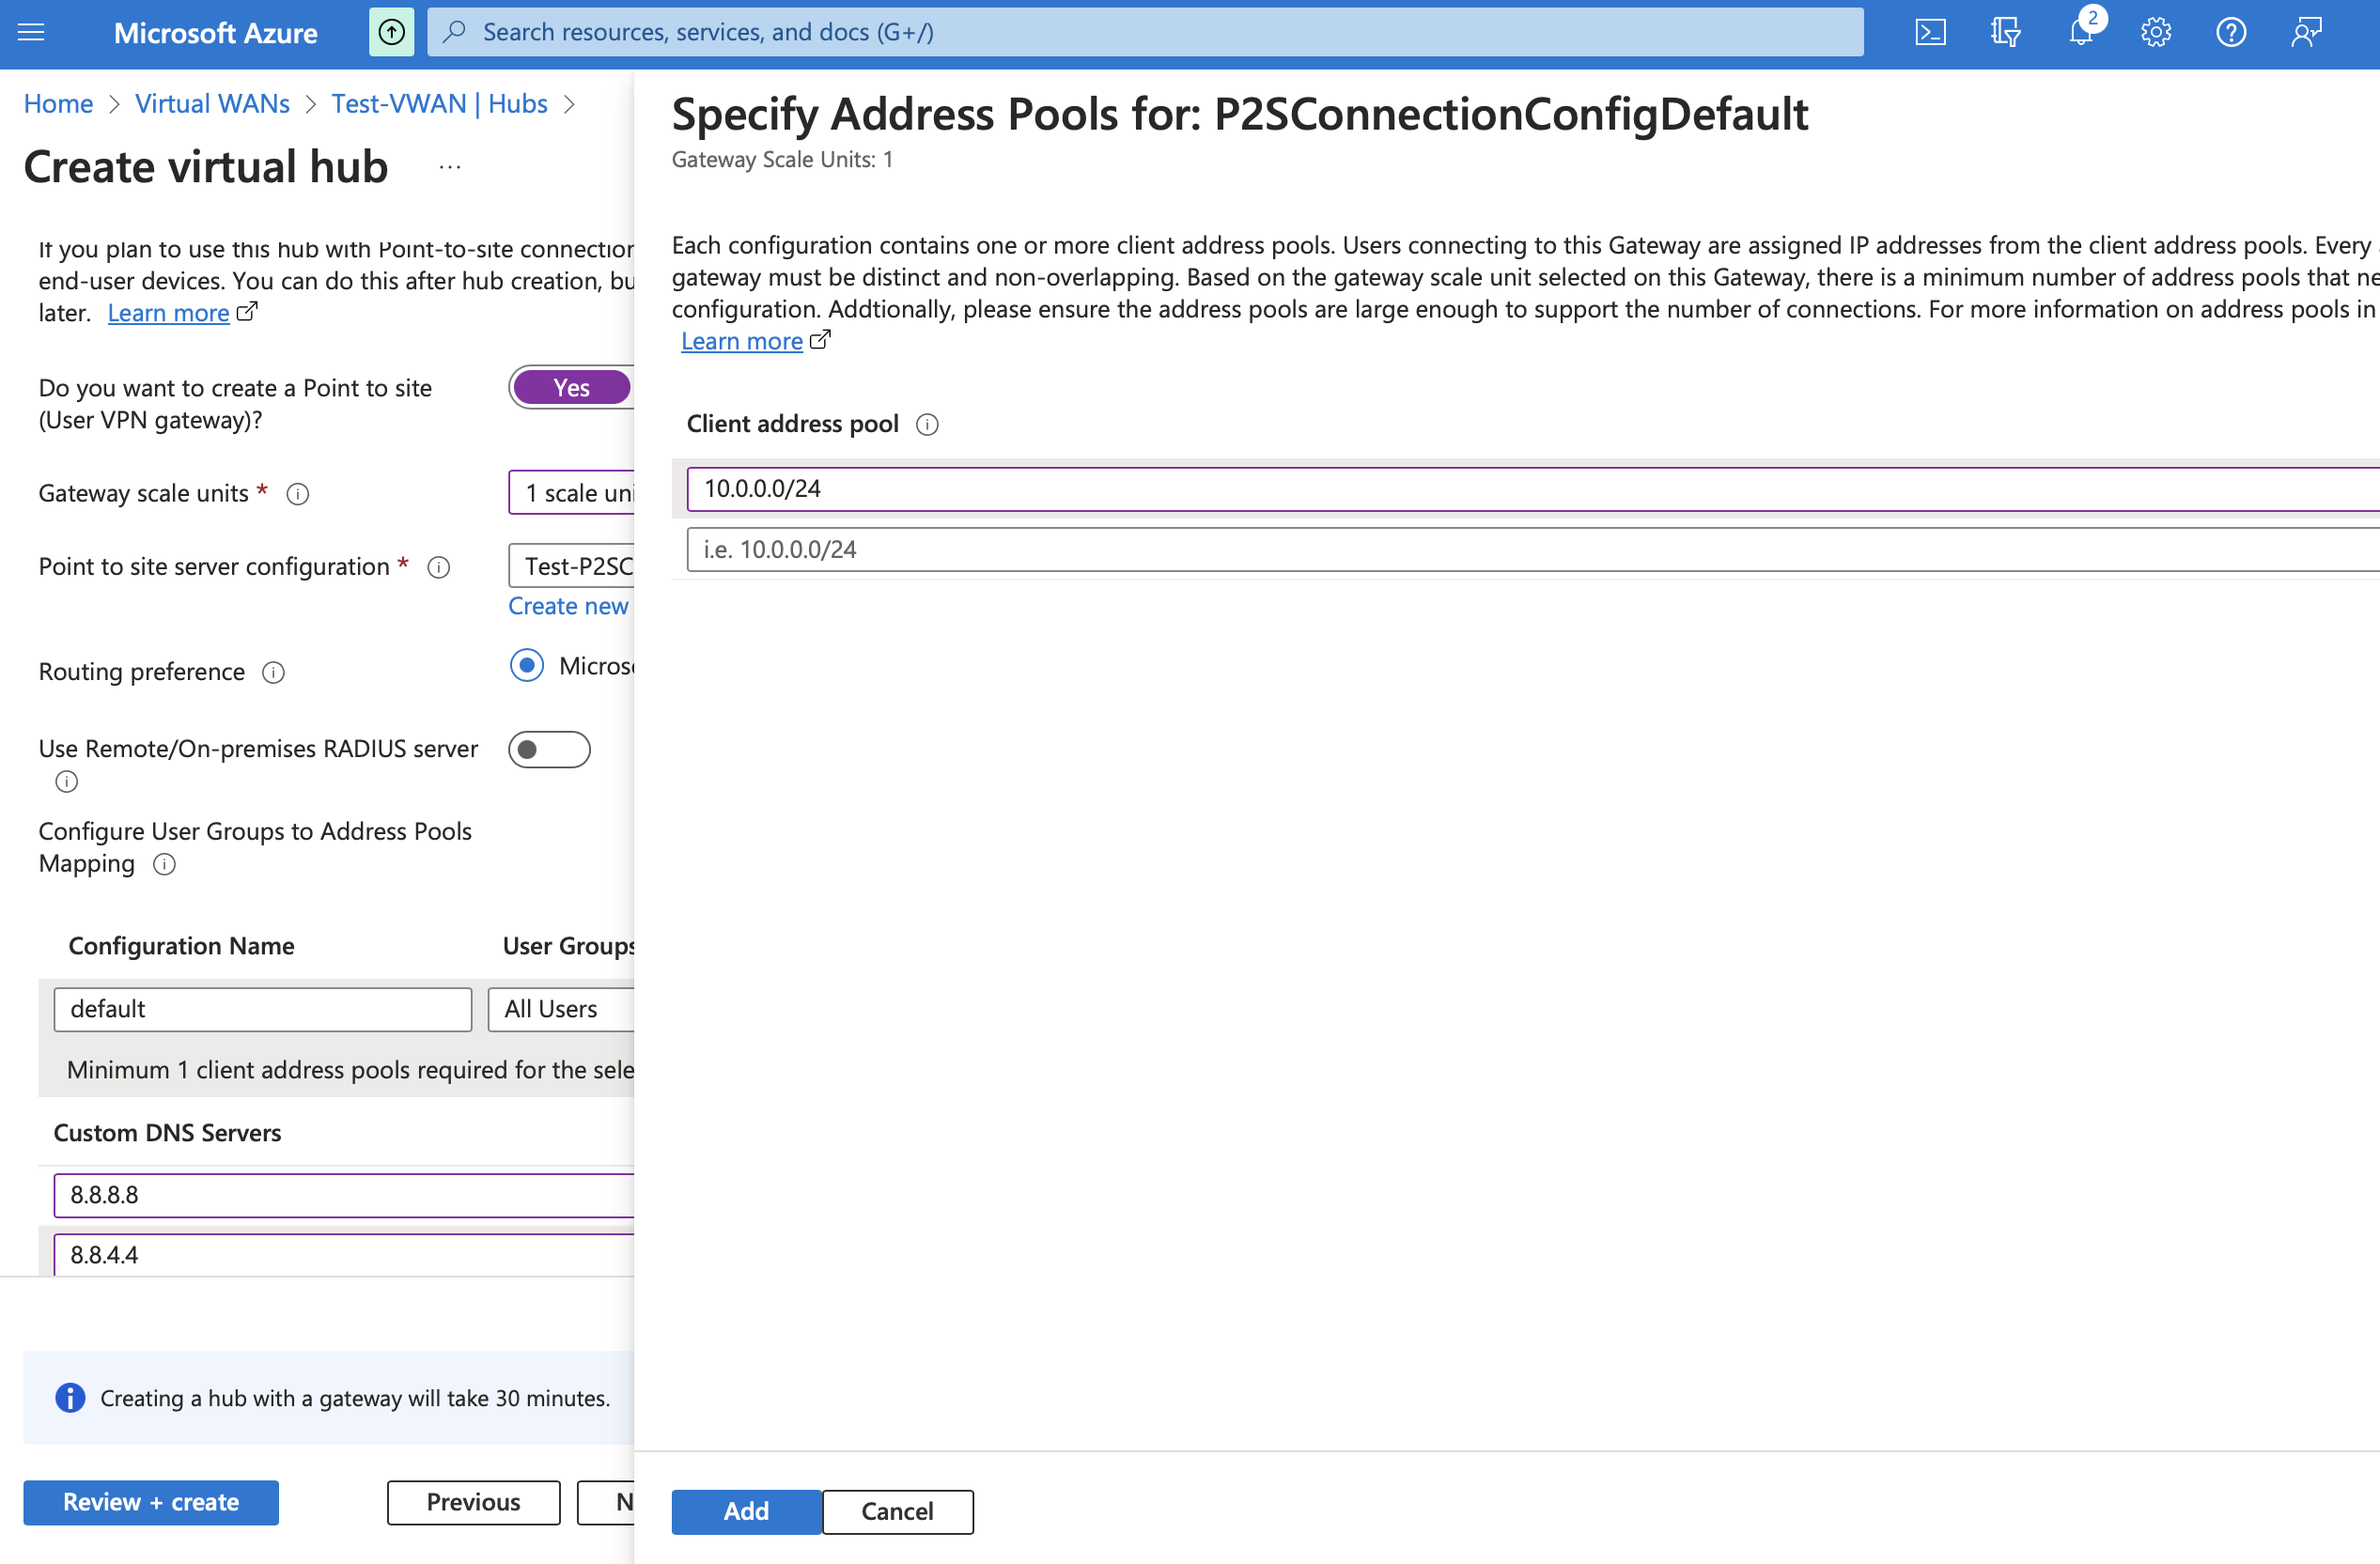
Provide a Client address pool such as 10.0.0.0/24 and click on Add. Click Review+create and create Virtual Hub.
Setup Azure Firewall
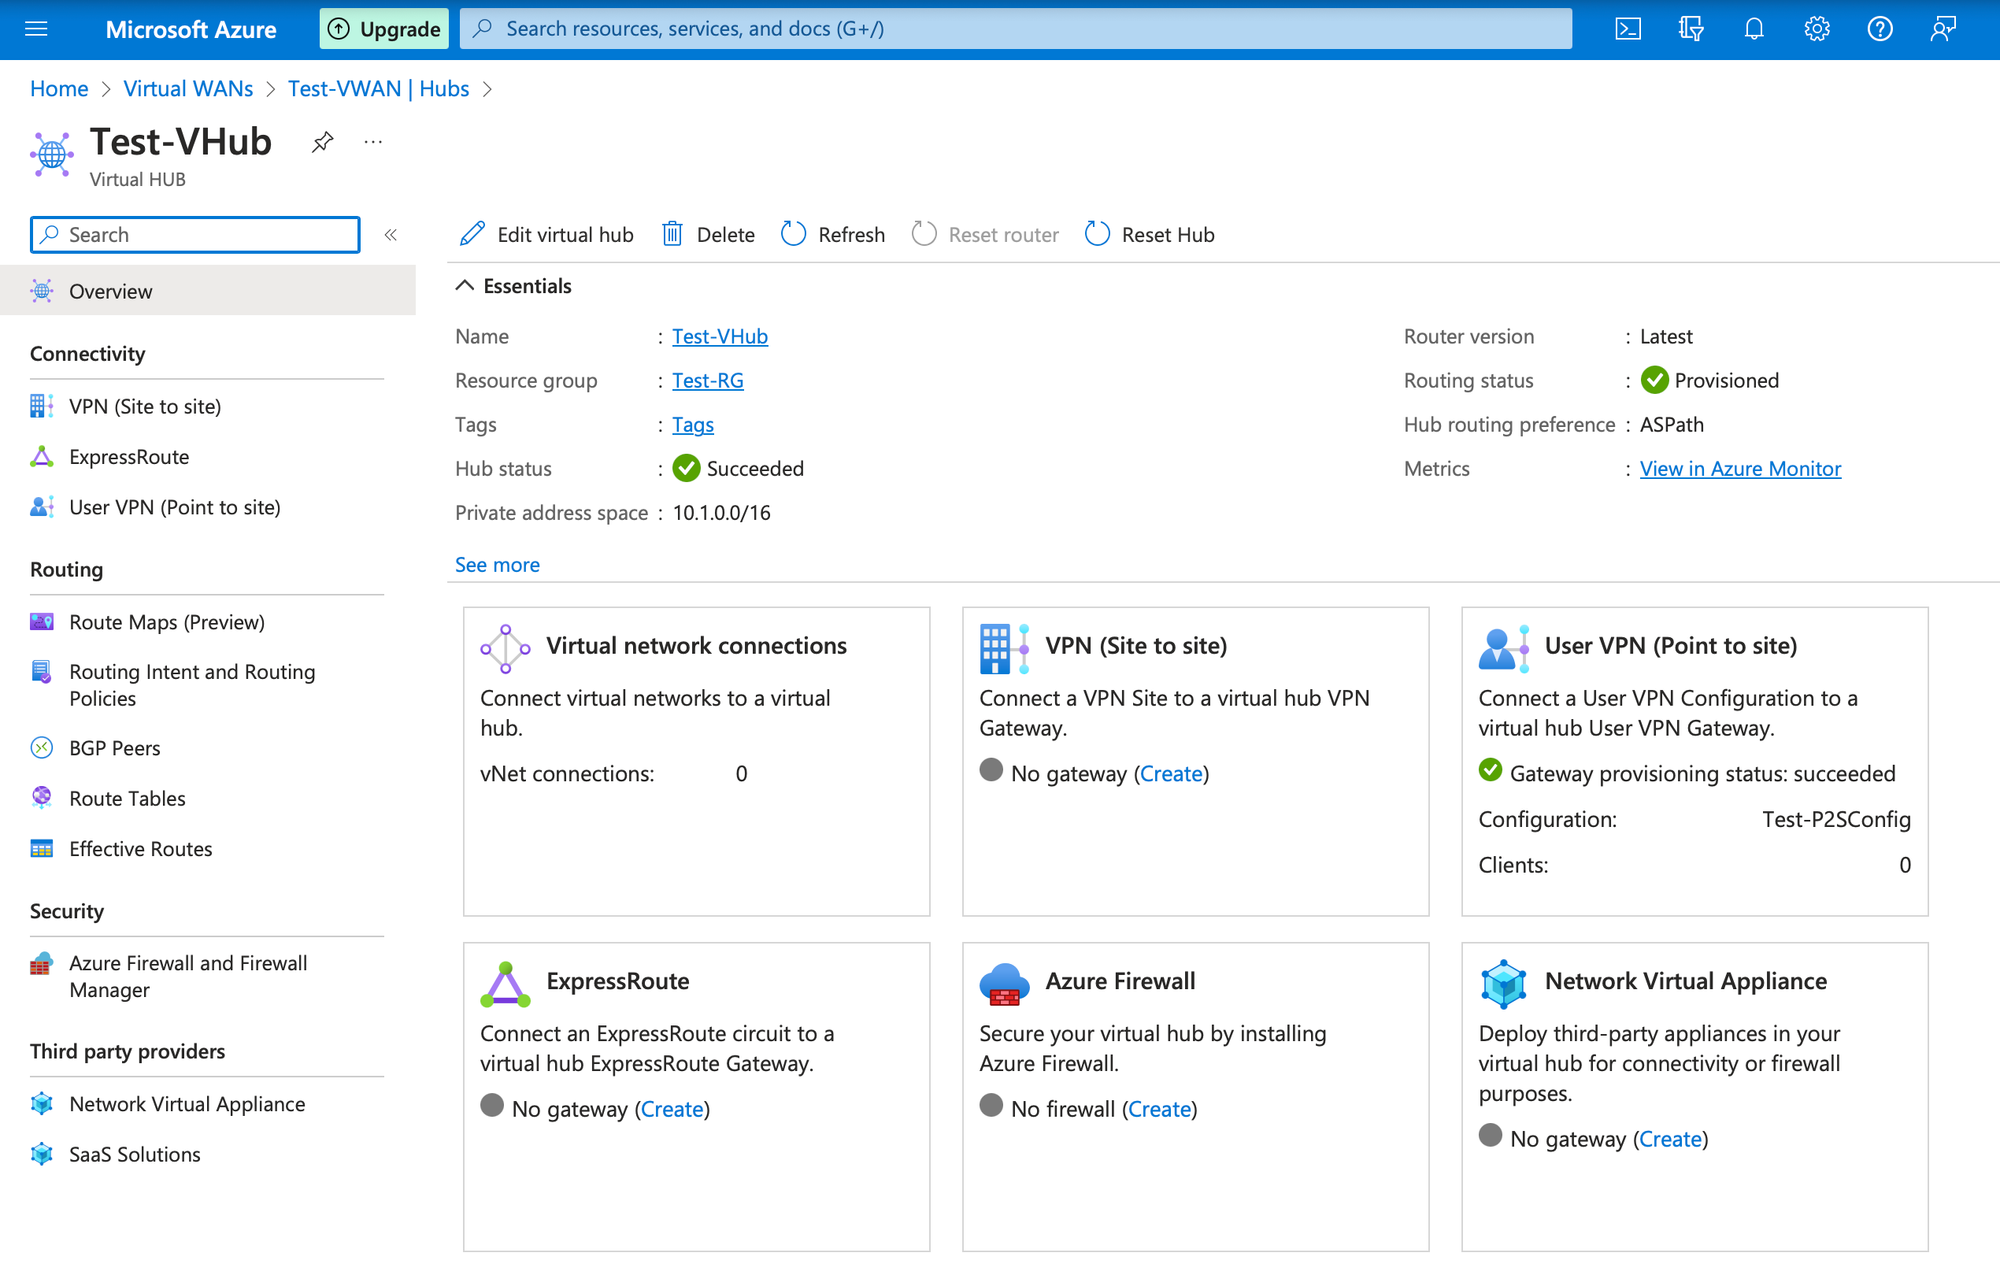
Wait for the Virtual Hub to get created. Once created, choose the Virtual Hub and click on Create under Azure Firewall.
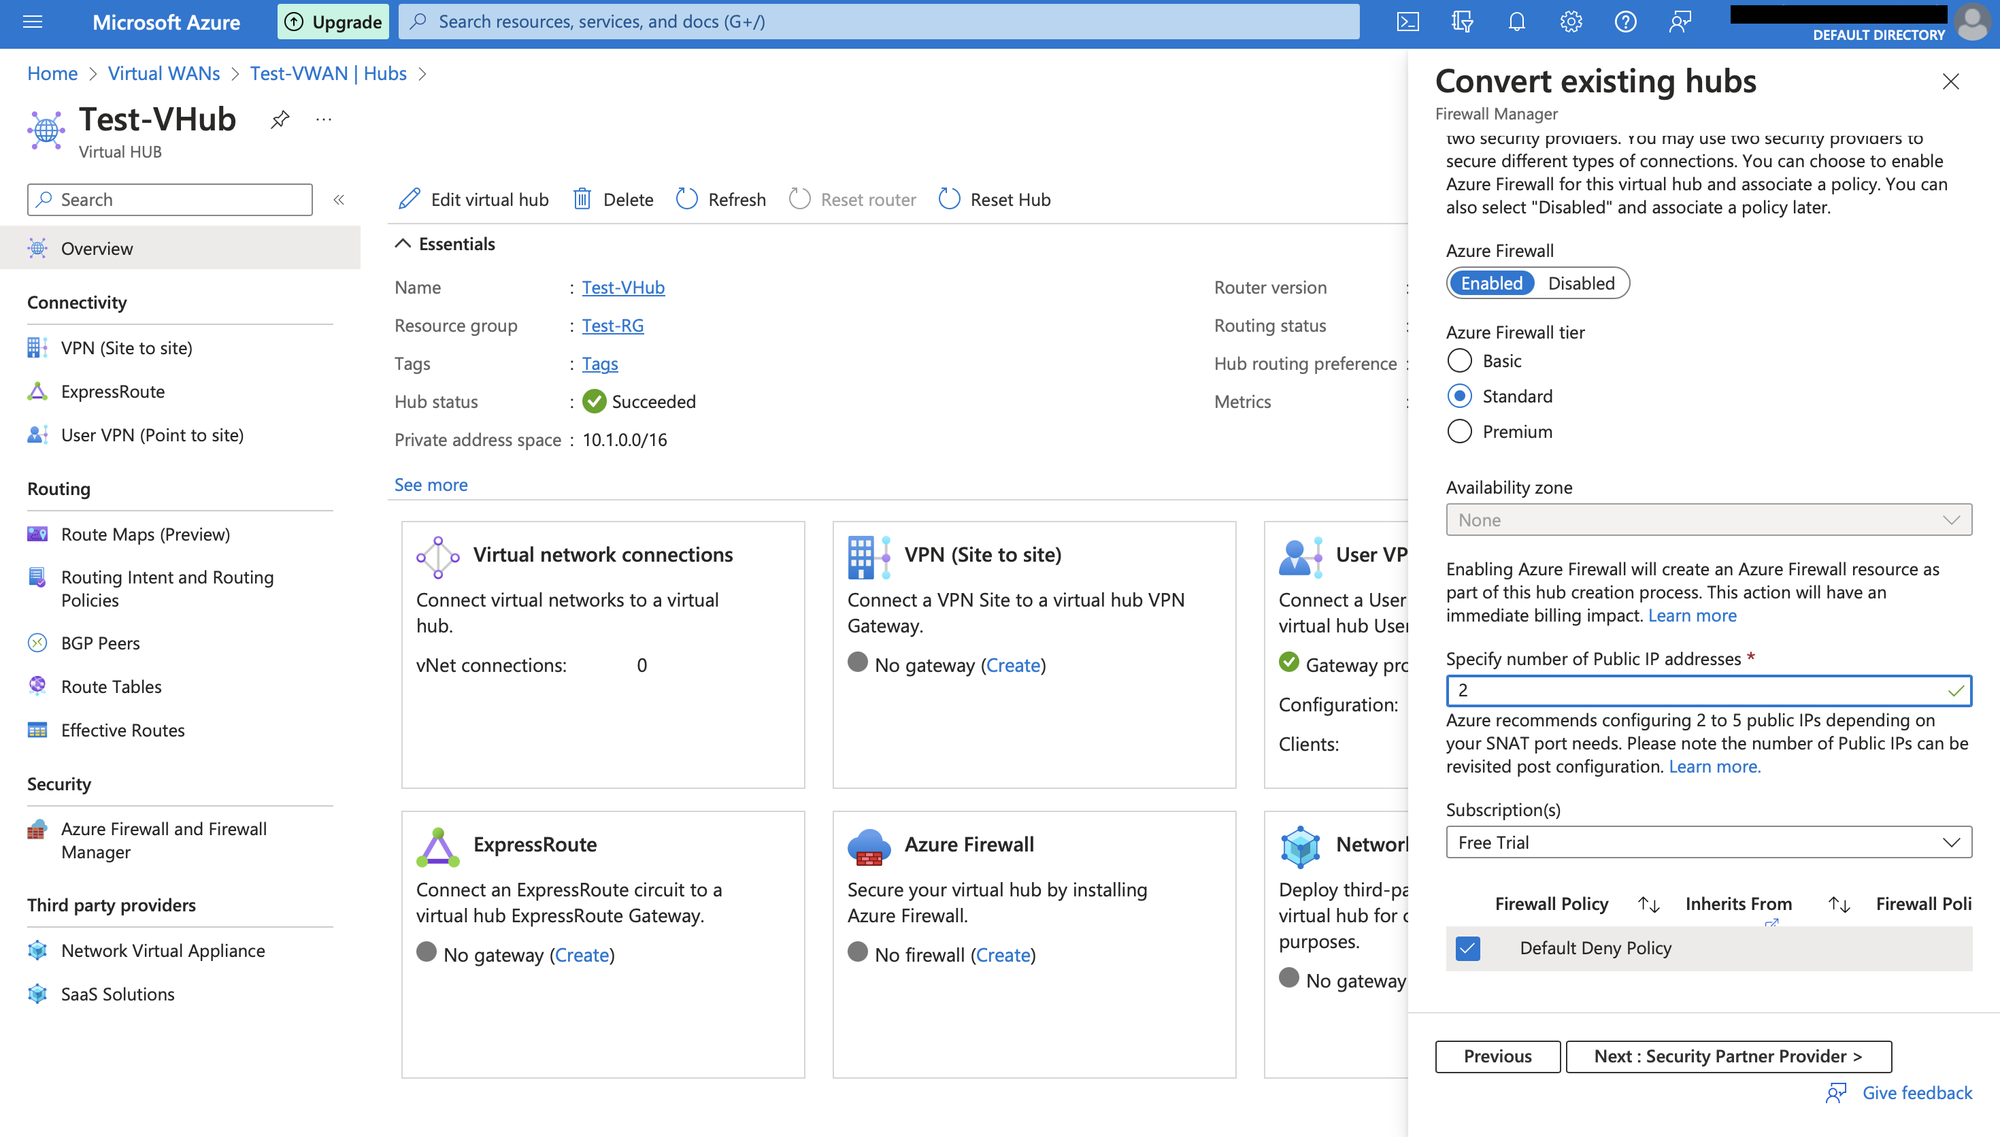
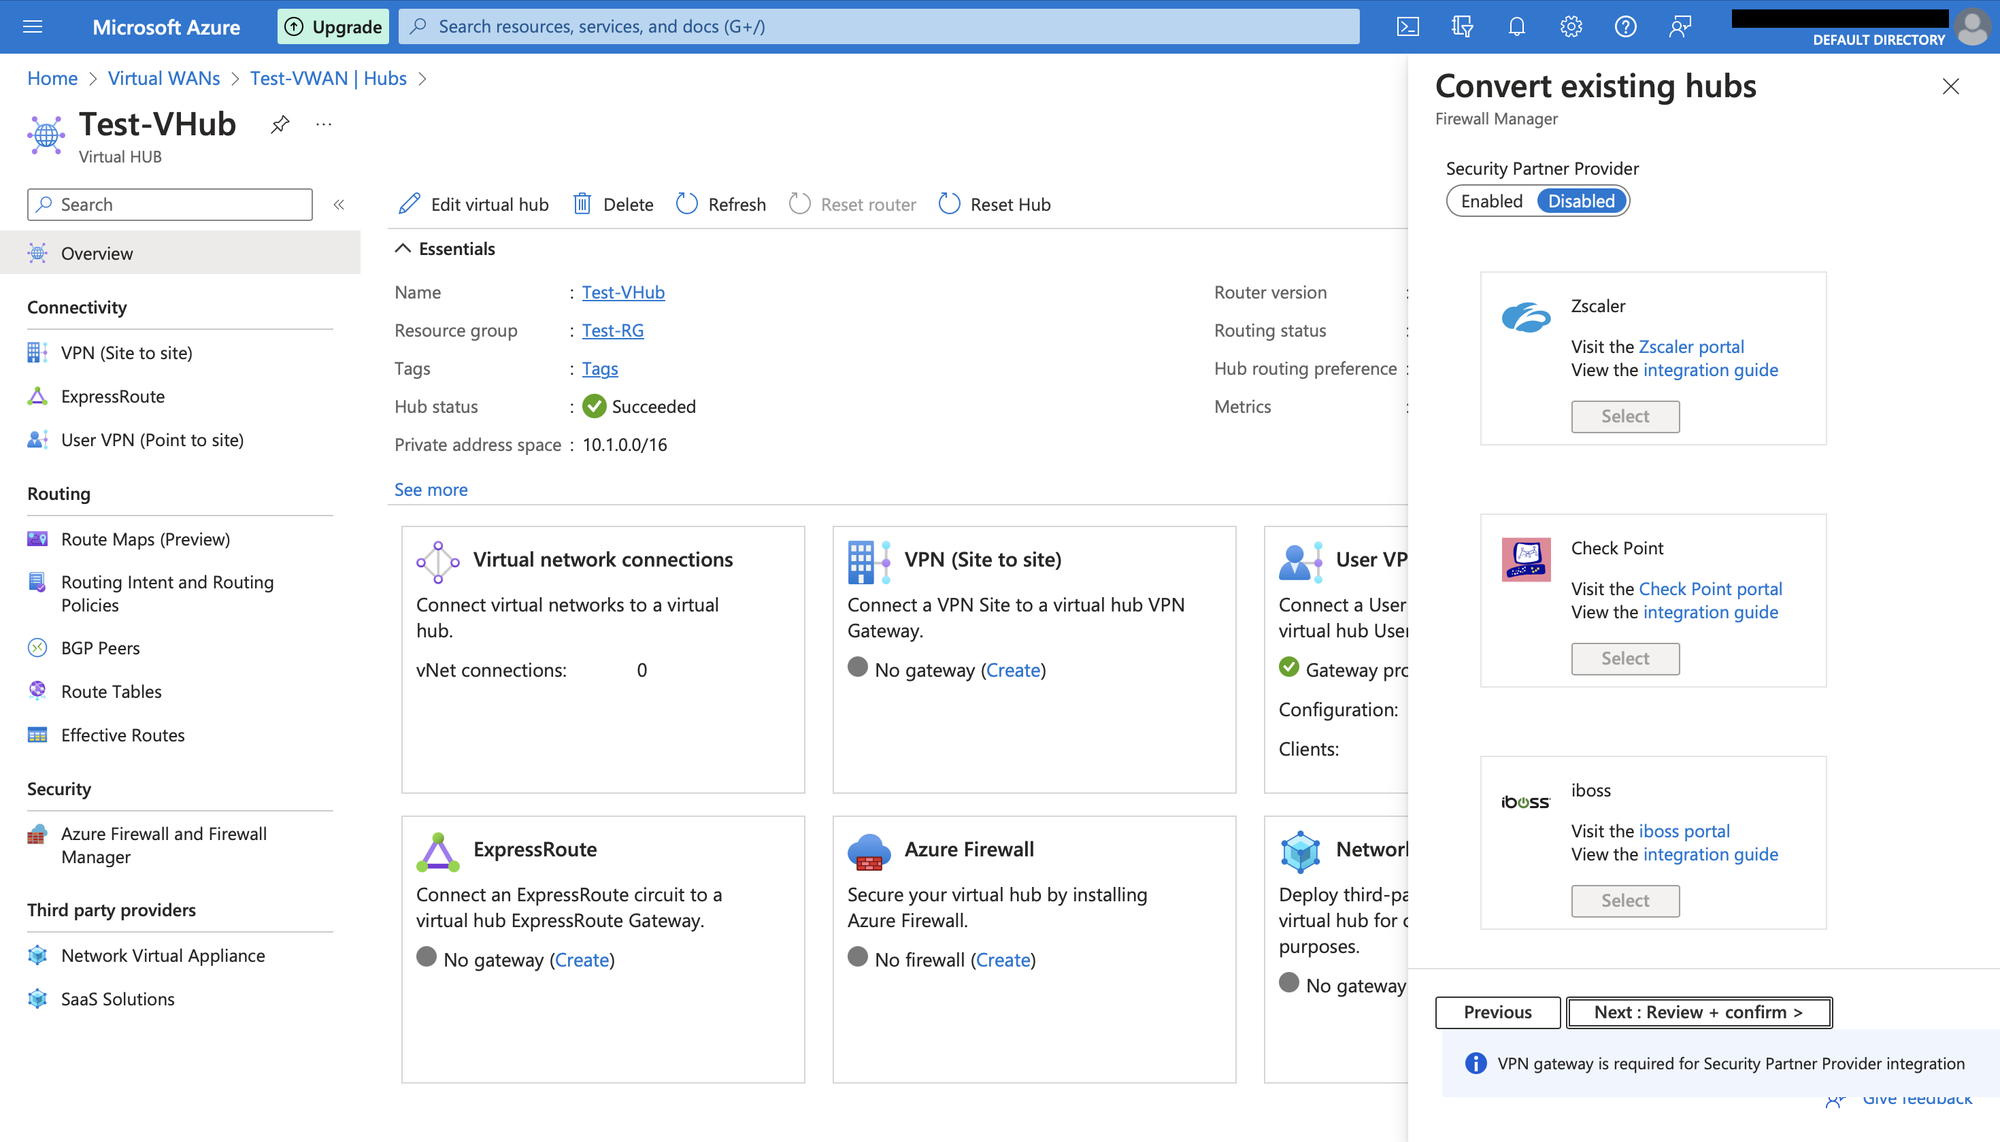
In convert existing hubs, choose the Hub Name if it is not chosen already and choose Azure Firewall tab.

Enable Azure Firewall and choose the tier as Standard. Provide required number of IP addresses in Specify number of Public IP addresses. We are providing 2 in this case. Click on Next.
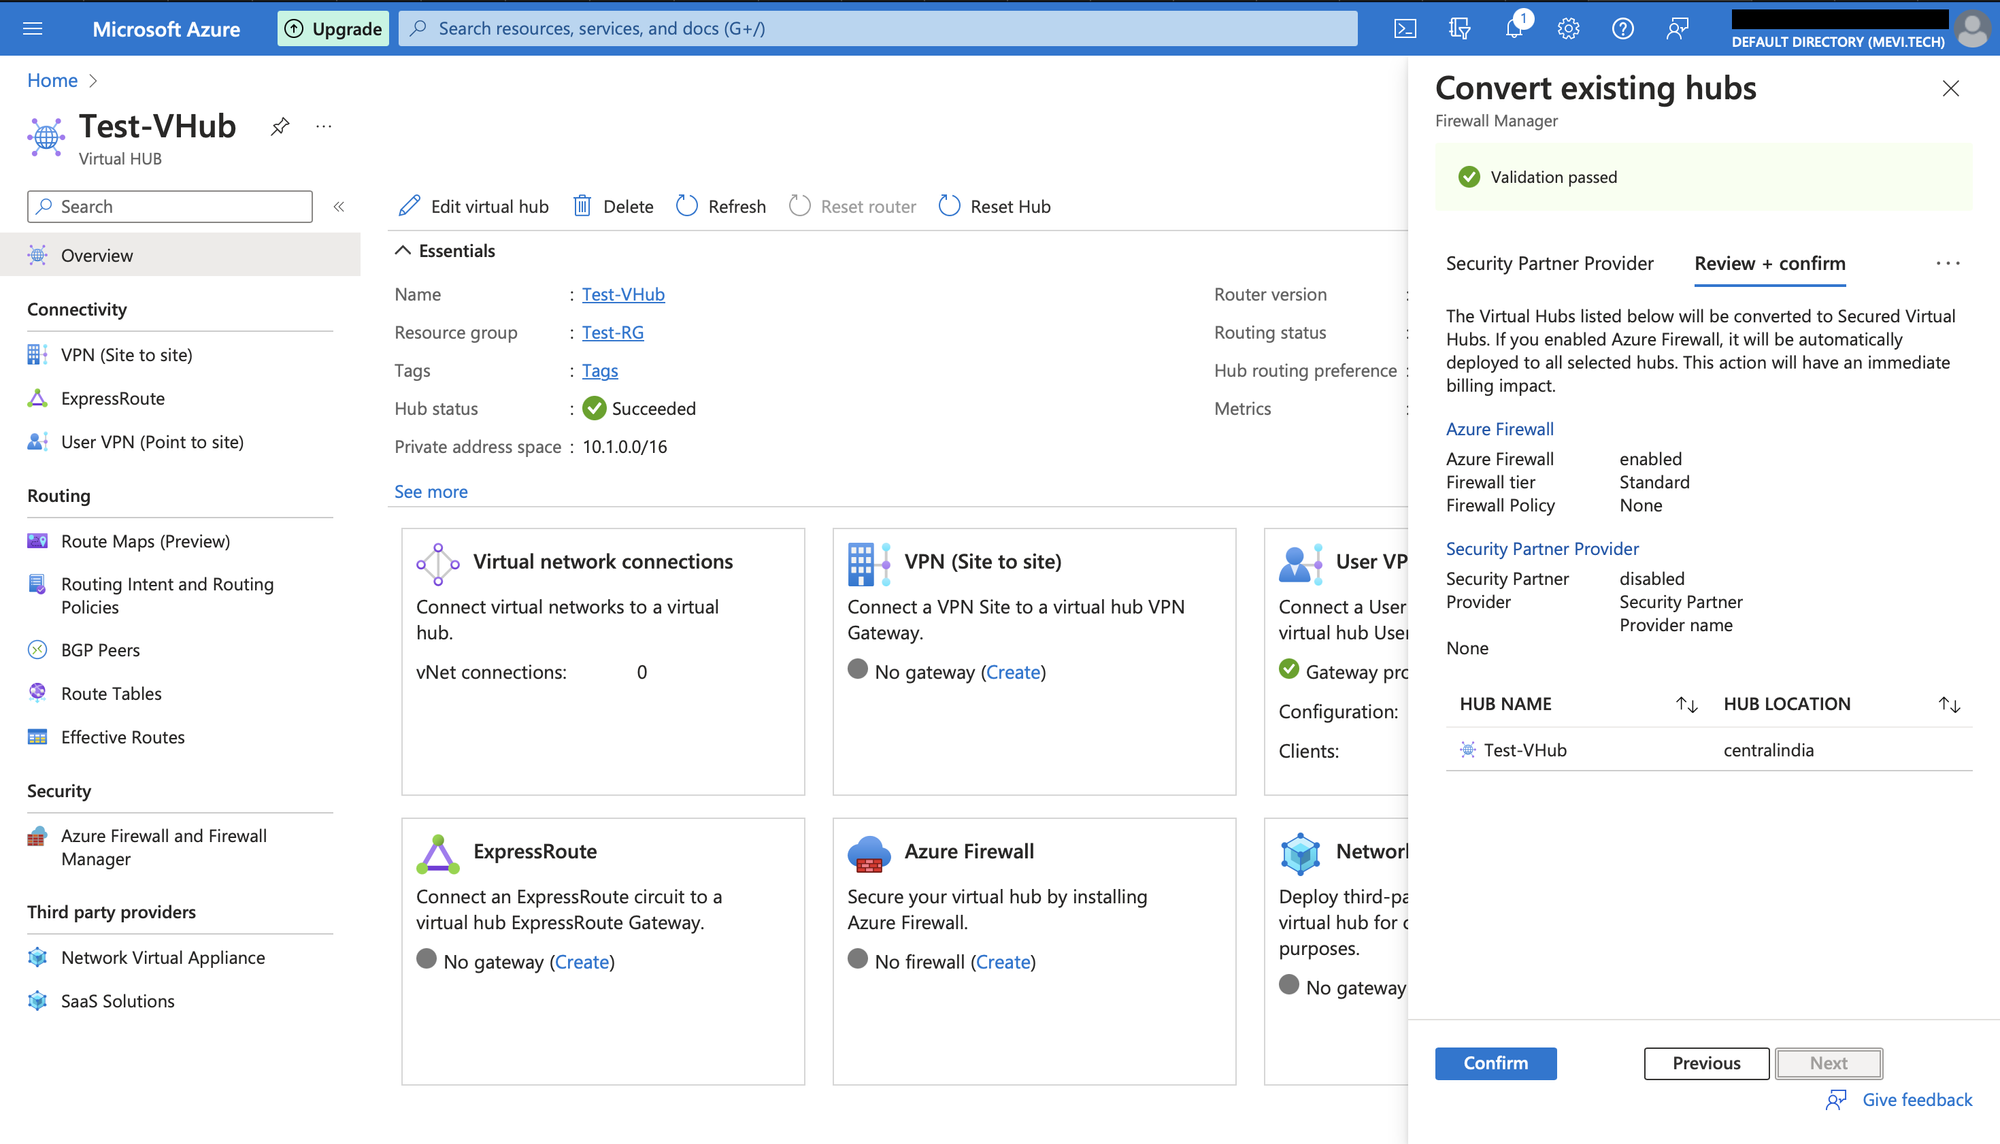
Skip modifying this section. Now click on Review+confirm to validate and create.
Click confirm to create.
Create Azure Firewall Policy
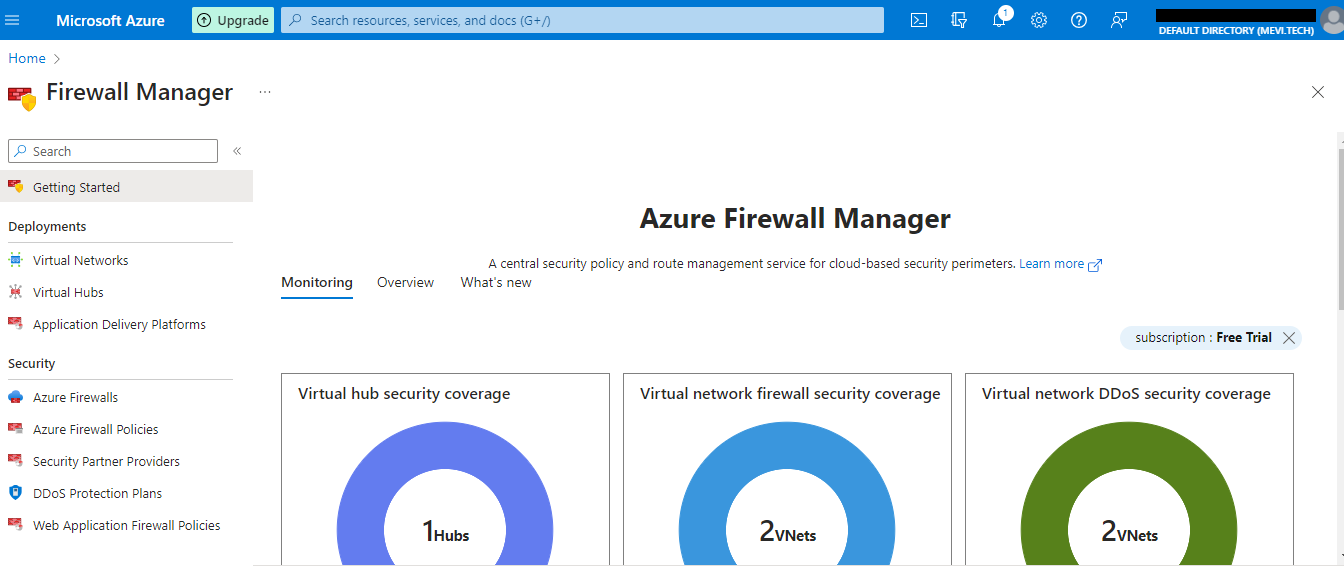
Visit Firewall Manager console. Click on Azure Firewall Policies.
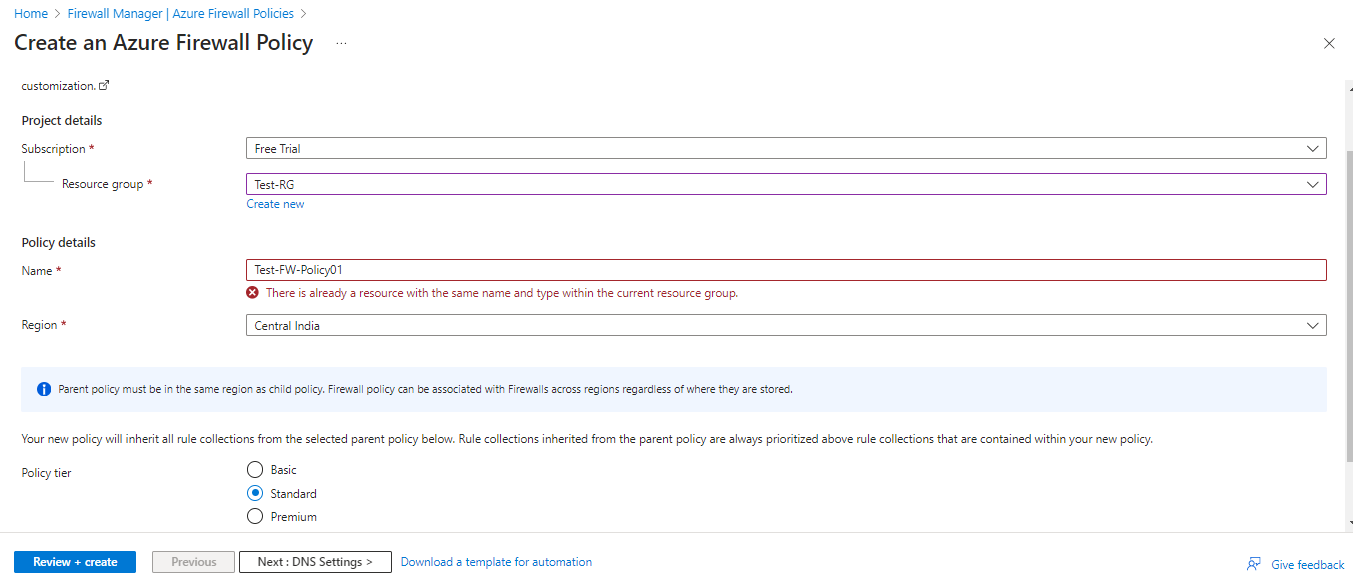
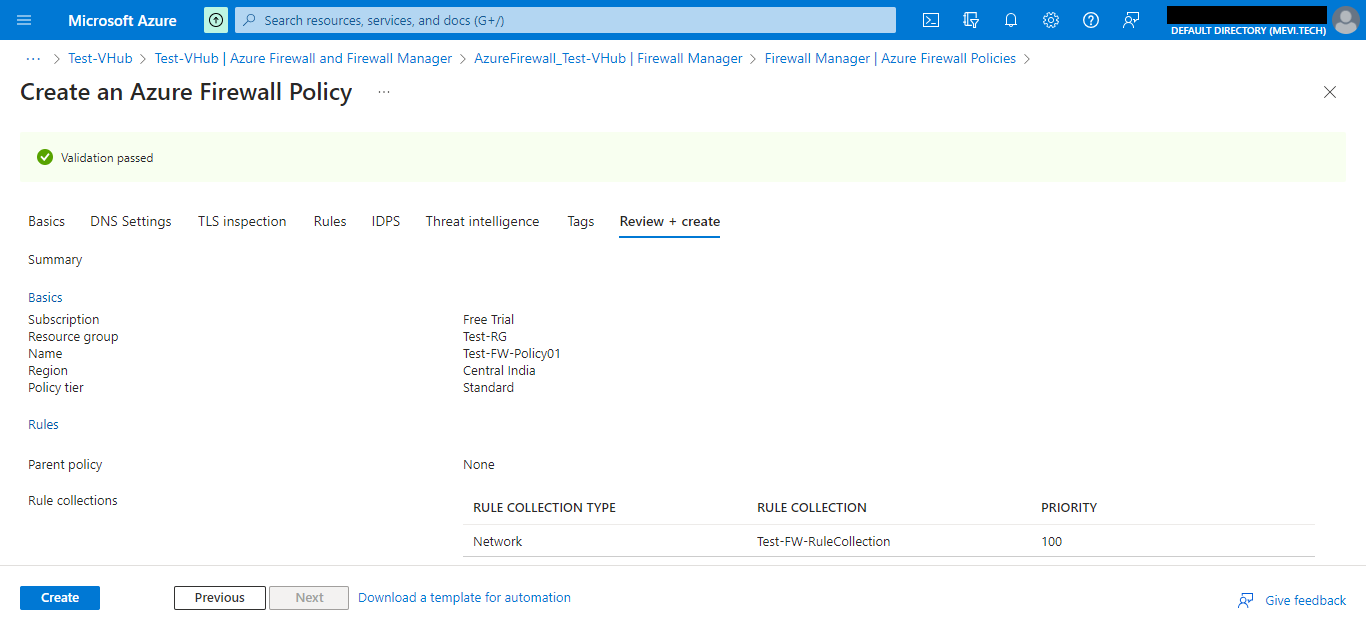
Choose the Resource group, provide policy name and region. Choose Policy tier as Standard.
Click on Rules tab and add a rule collection. Provide a Name. Choose Rule collection type as Network and set Priority as required. Create a rule by providing Name, source as *, destination as * and choose all protocols in protocols section. Click on Add.

Click on Review+create and create the policy.
Associate Virtual Hub with Firewall Policy
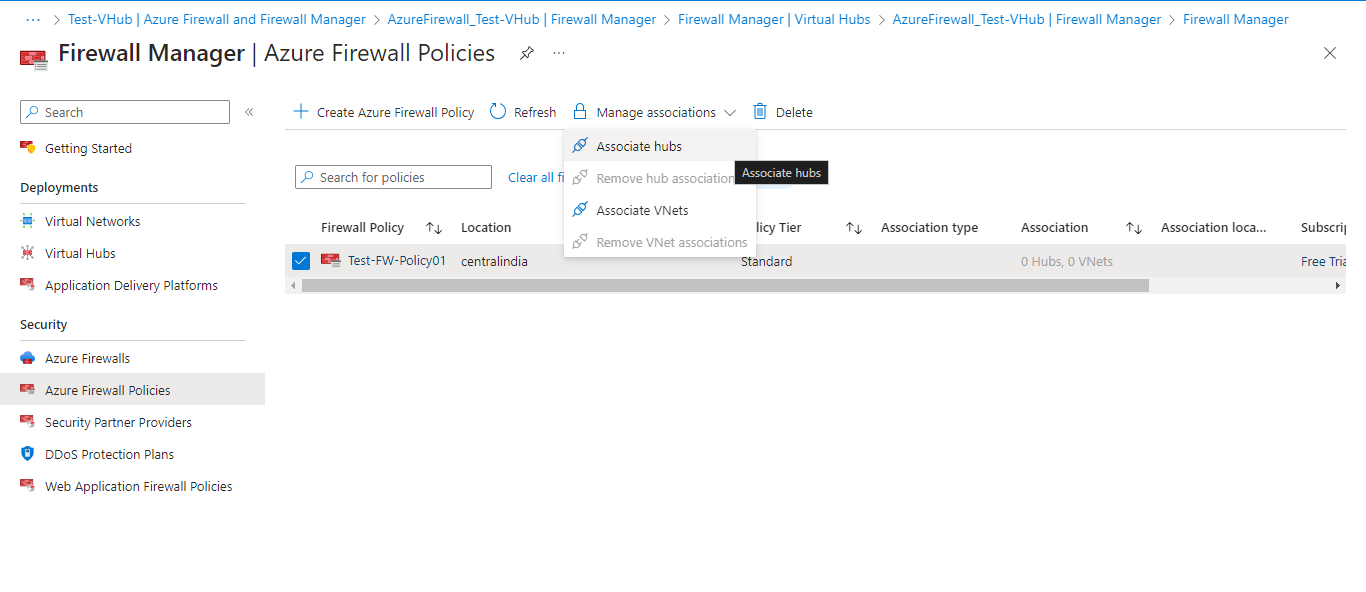
We need to associate the created policy to the Virtual Hub. For that click on Azure Firewall Policies and choose the newly created policy. Click on Manage associations and click Associate hubs.
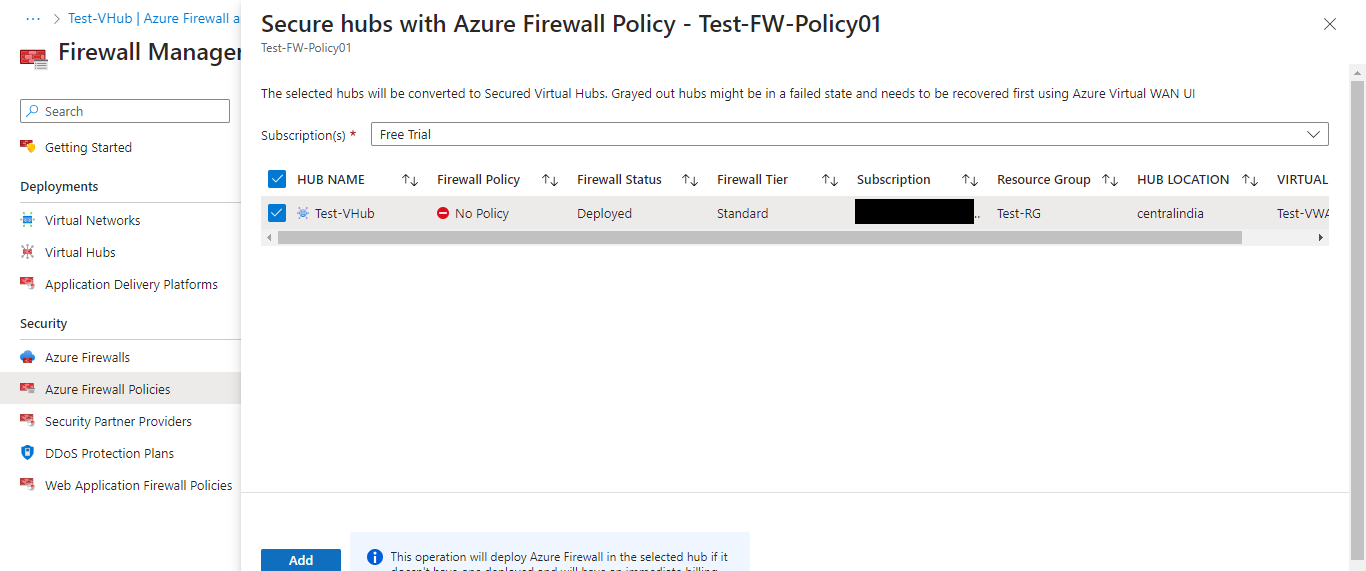
Select the hub that we created previously and click on Add.
Update Routing Intent & Routing Policies
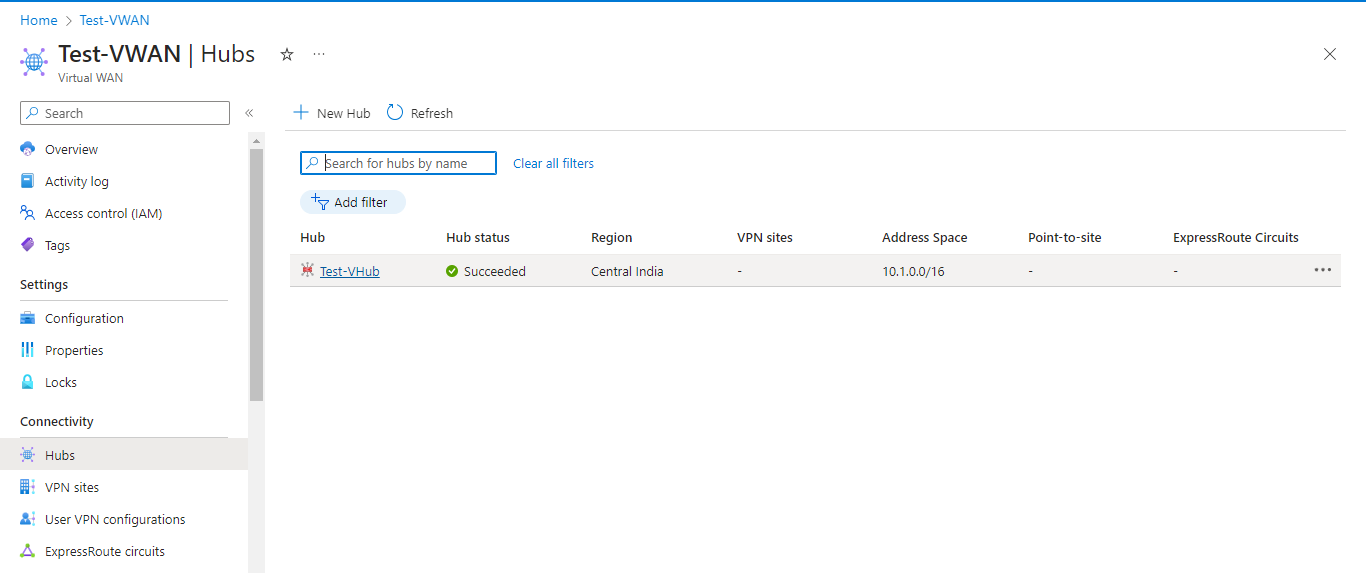
Visit Virtual WAN console and click on Hubs.
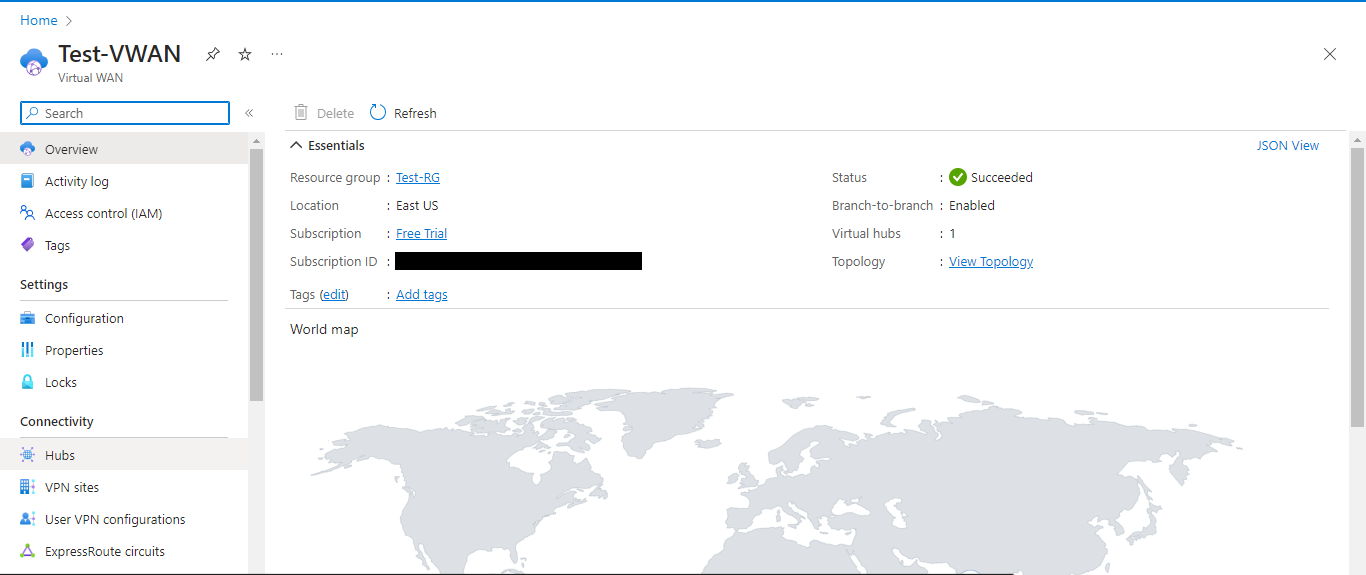
Click on the previously created Hub.
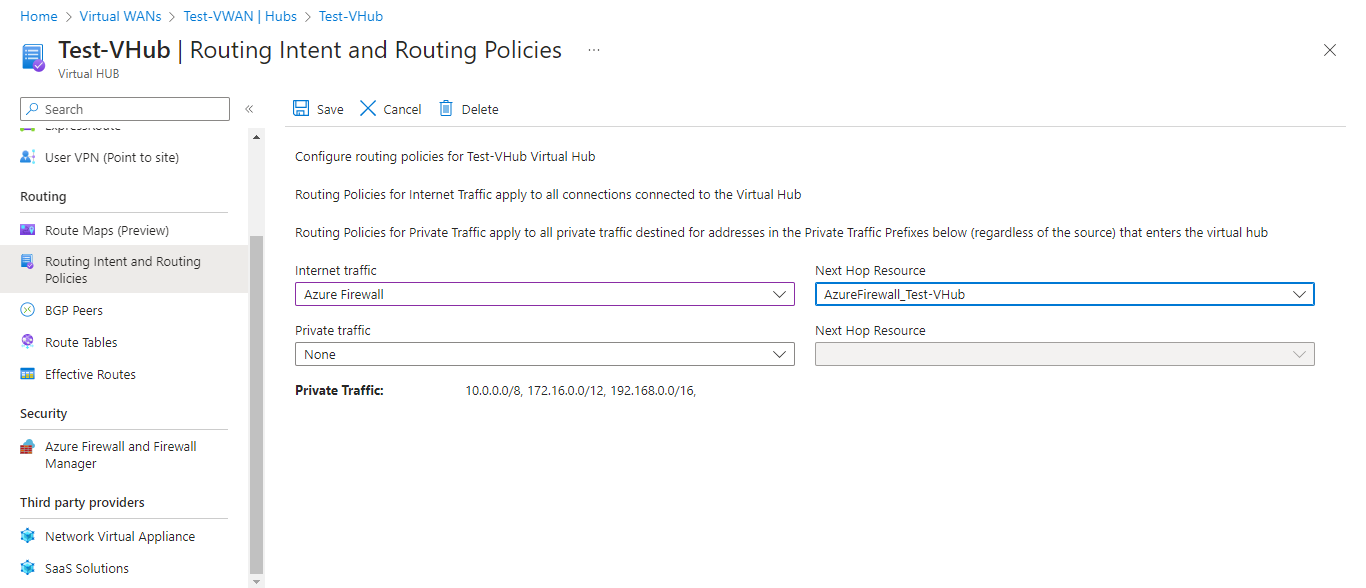
Click on Routing intent and Routing Policies from the left side menu. Choose internet traffic as Azure Firewall and Next Hop Resource as the Virtual Hub that is created previously. Click on Save.
Update Route Tables
Click on Route Tables from the left side menu. Click on the Default Route Table.

VPN configurations are over now. To download the VPN client configurations, follow these steps.
Download VPN Configuration
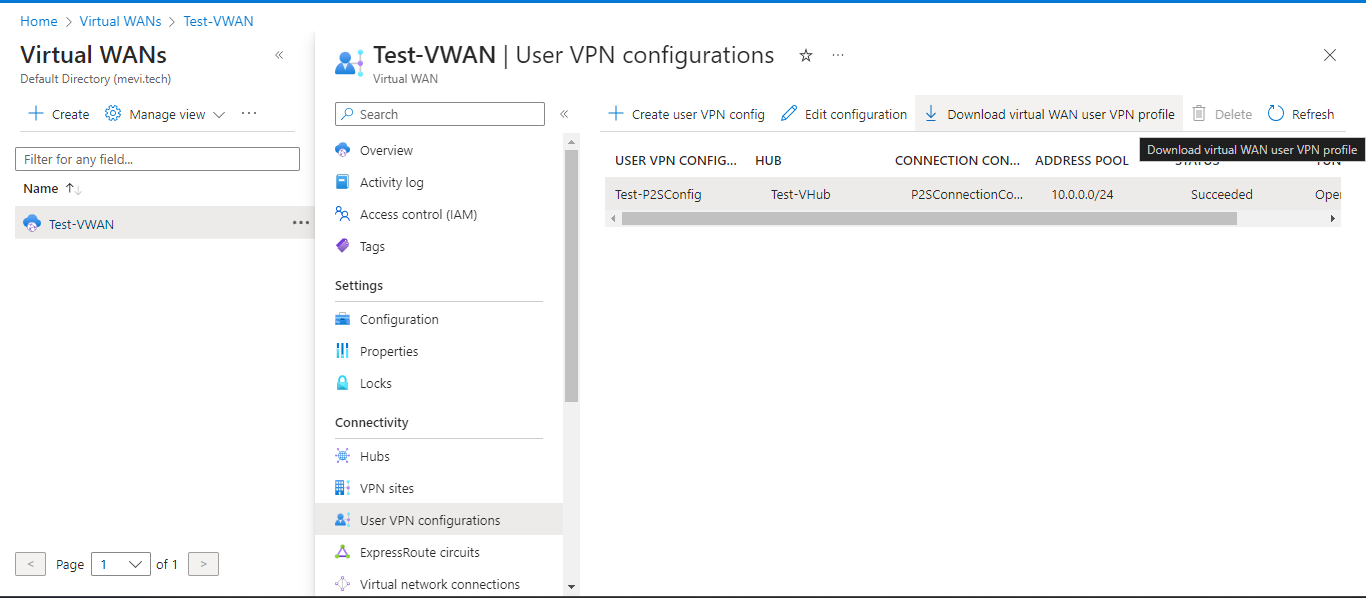
Visit Virtual WAN console and click on User VPN configurations. Choose the User VPN configurations. Click on Download virtual WAN user VPN profile.
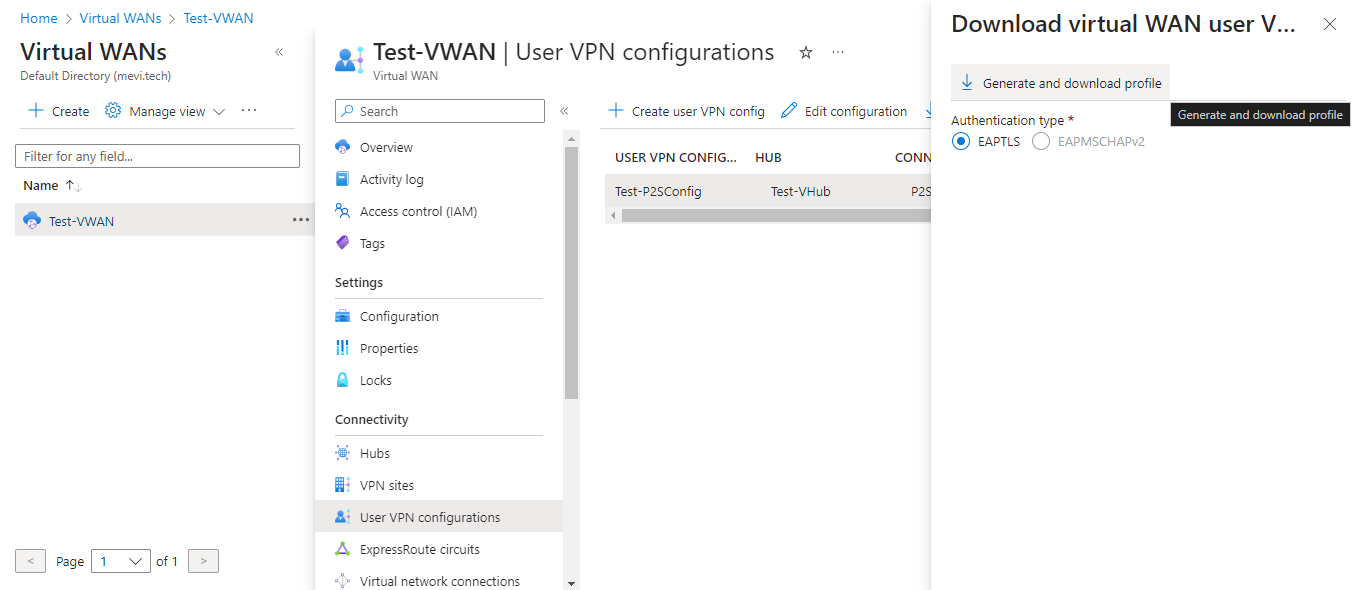
Choose Authentication type and click on Generate and download profile.
Modify VPN Configuration
In Windows, VPN won't work properly with route 0.0.0.0/0. We need to add routes 0.0.0.0/1 and 128.0.0.0/1 in the vpnconfig xml file.
Unzip the downloaded file and navigate to AzureVPN folder.

Open the file using any text editor. Check whether there are routes and DNS added or not. If they are not added, you need to update it manually.
Find and remove remove the line
<clientconfig i:nil="true" />Add the following configurations after </clientauth>
<clientconfig>
    <includeroutes>
        <route>
            <destination>0.0.0.0</destination><mask>1</mask>
        </route>
        <route>
             <destination>128.0.0.0</destination><mask>1</mask>
        </route>
    </includeroutes>
</clientconfig>
Save the xml file.
VPN Client Setup - Apple macOS
To connect to the VPN from the client macOs machine, following are the steps.
Find Azure VPN client in App Store
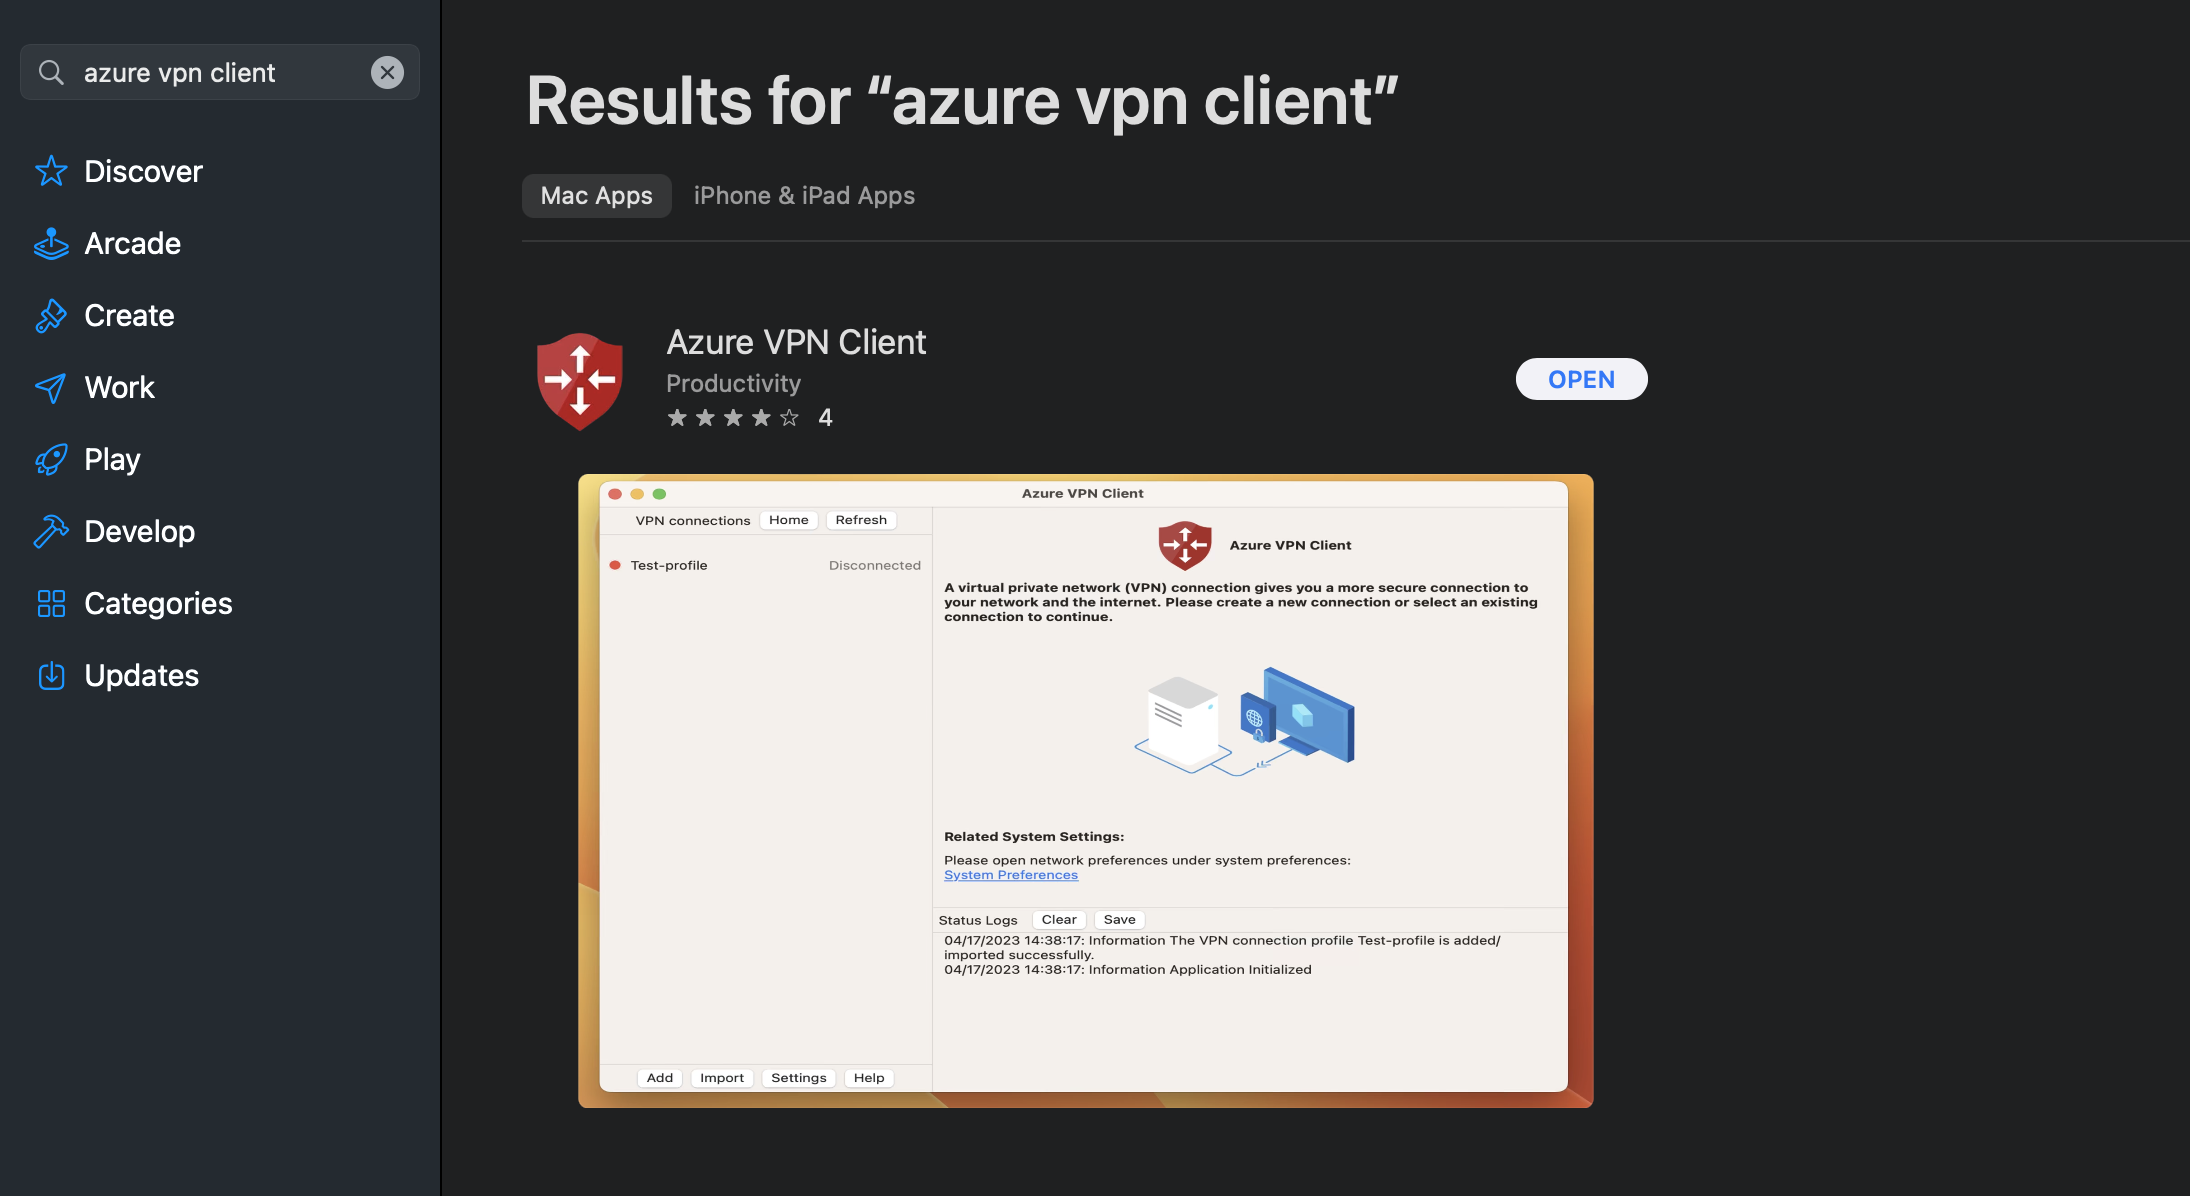
Once installed, open the application.
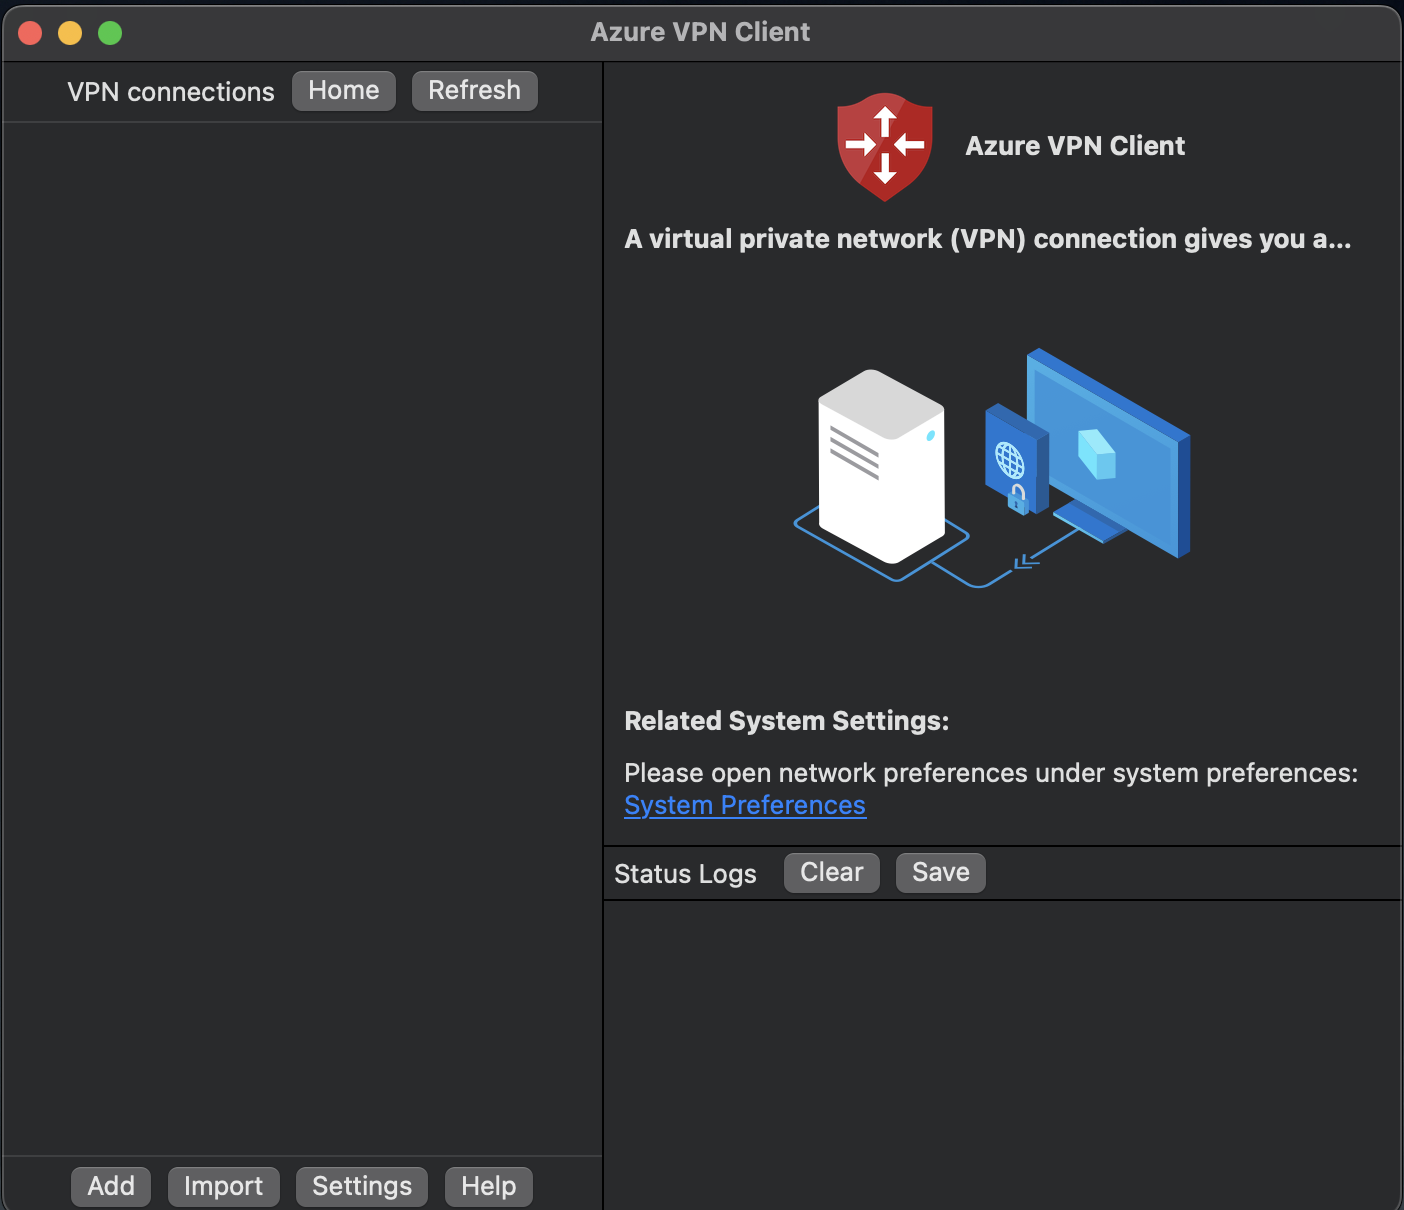
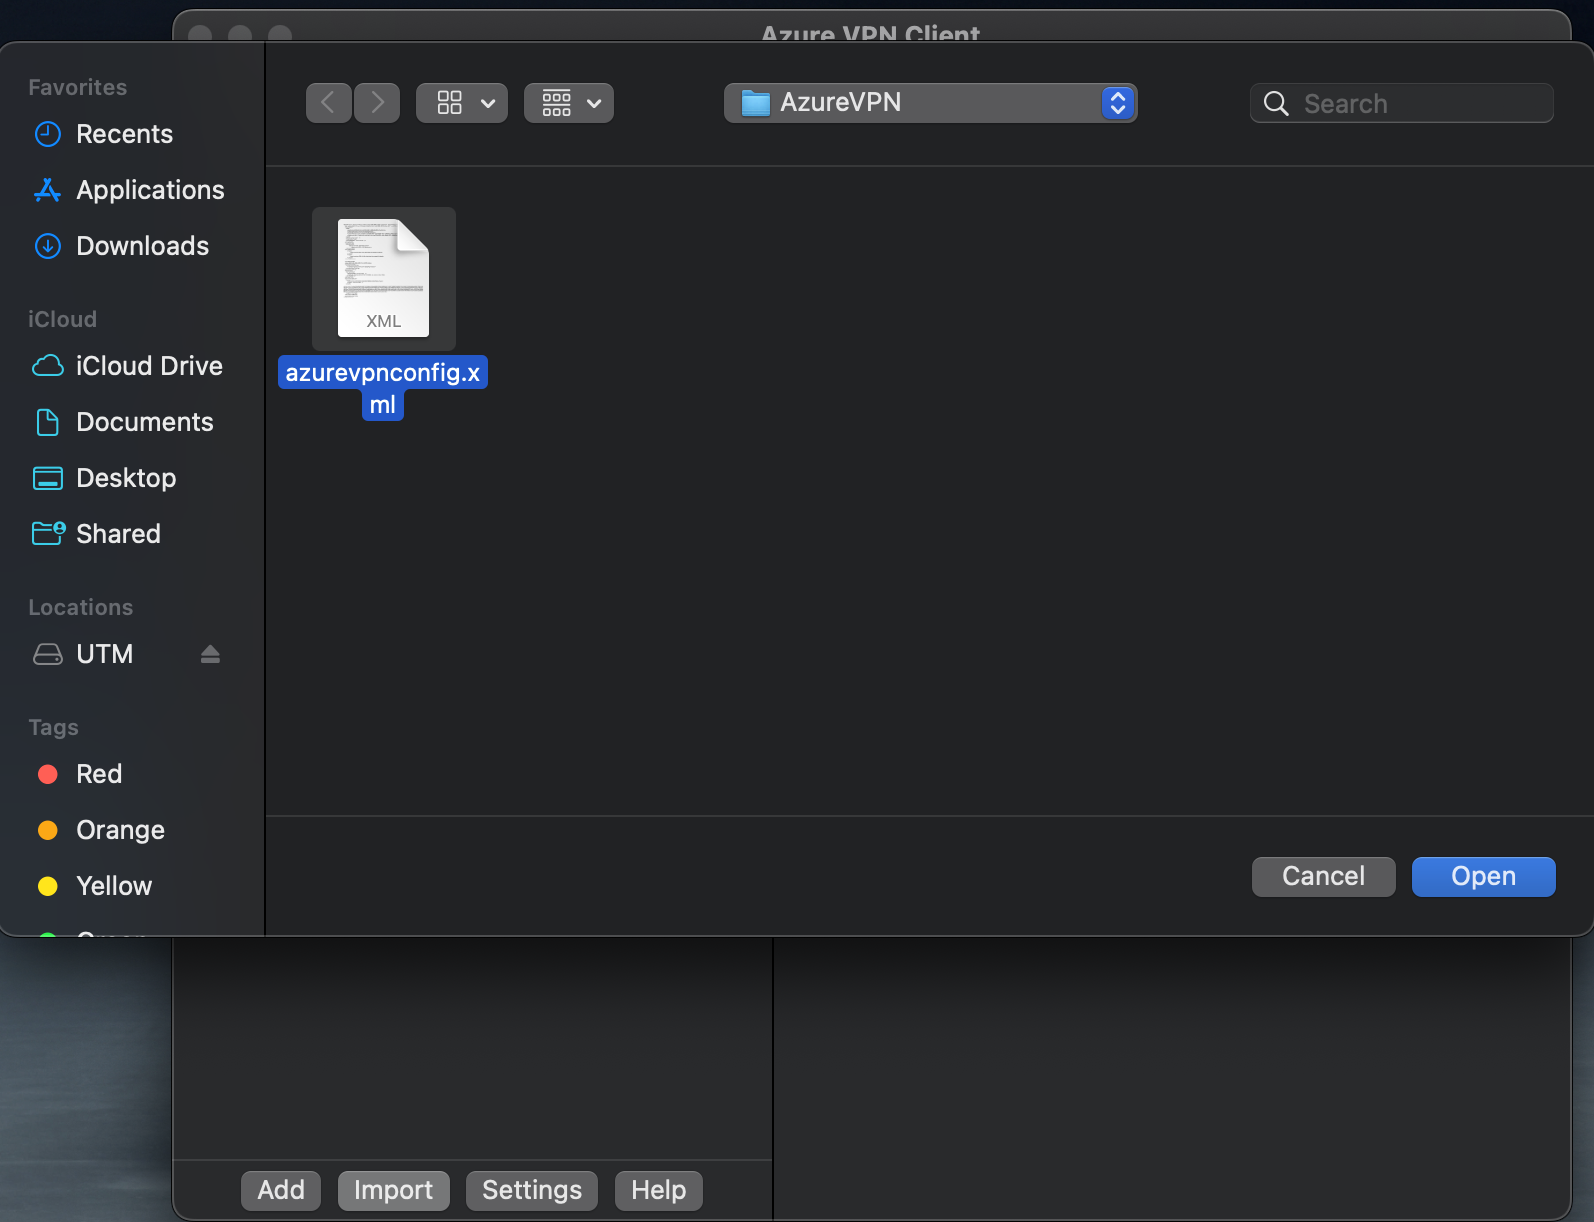
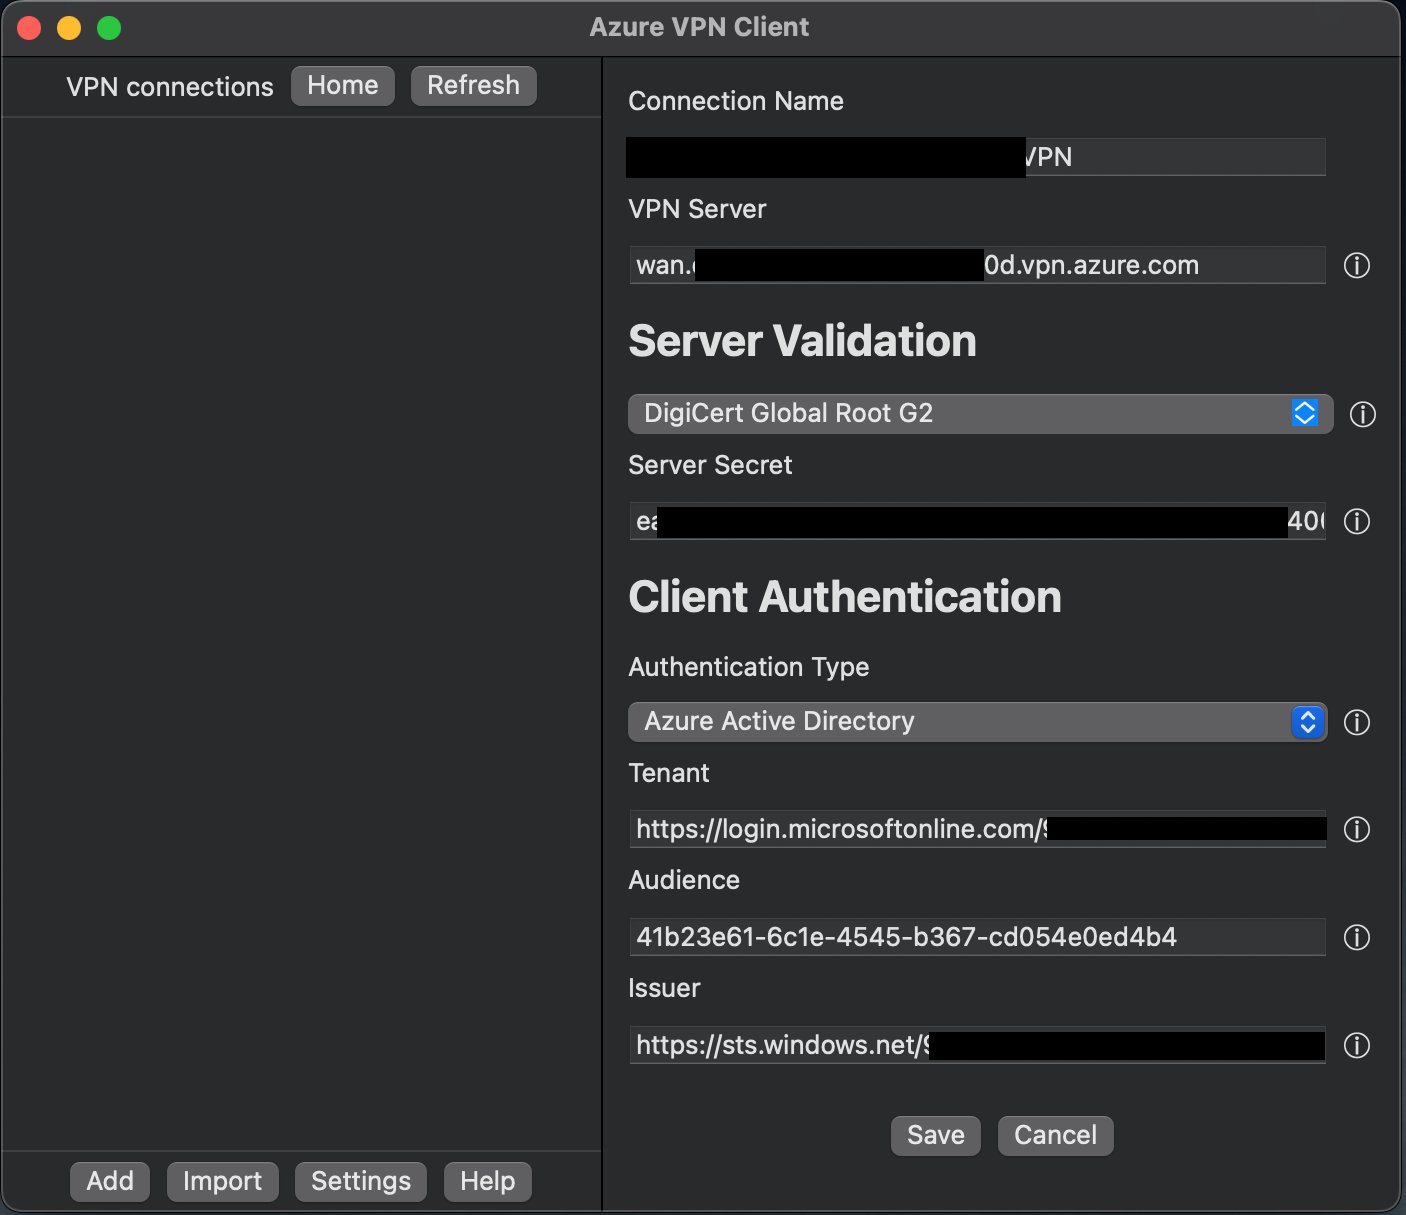
Click on Import to import VPN xml file that we downloaded. Choose the xml file and click Open.
Click on Save.
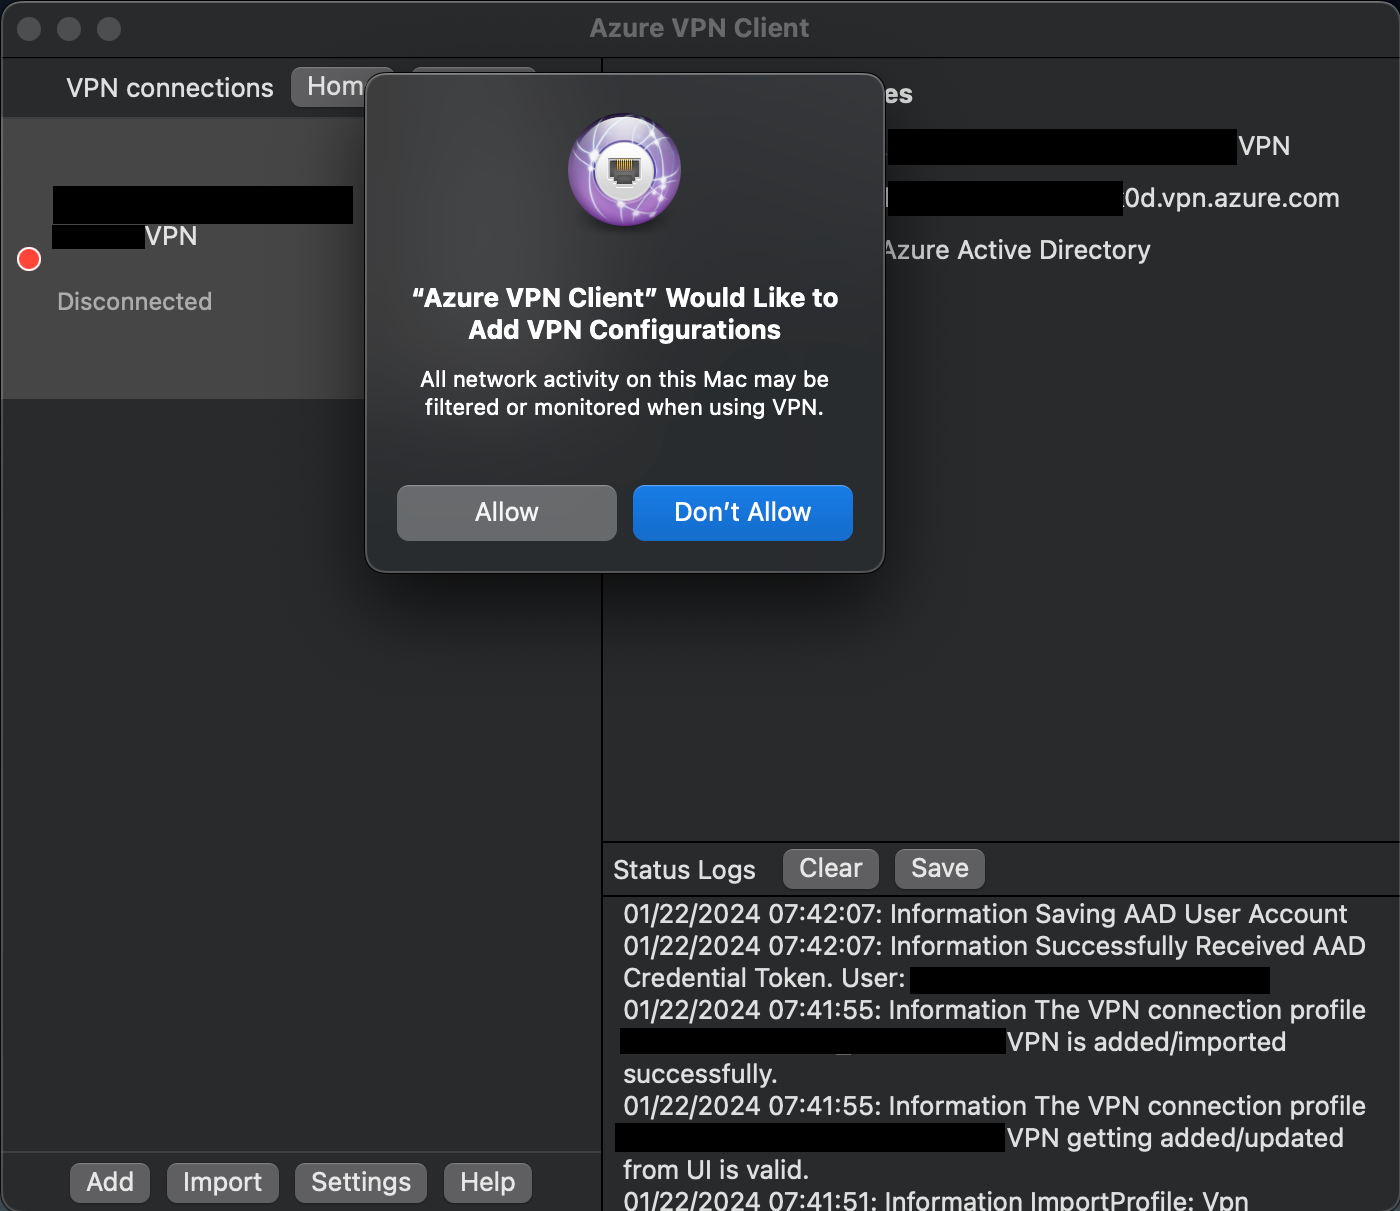
Click on Allow if "Azure VPN Client" Would Like to Add VPN Configurations comes. Click on Connect.
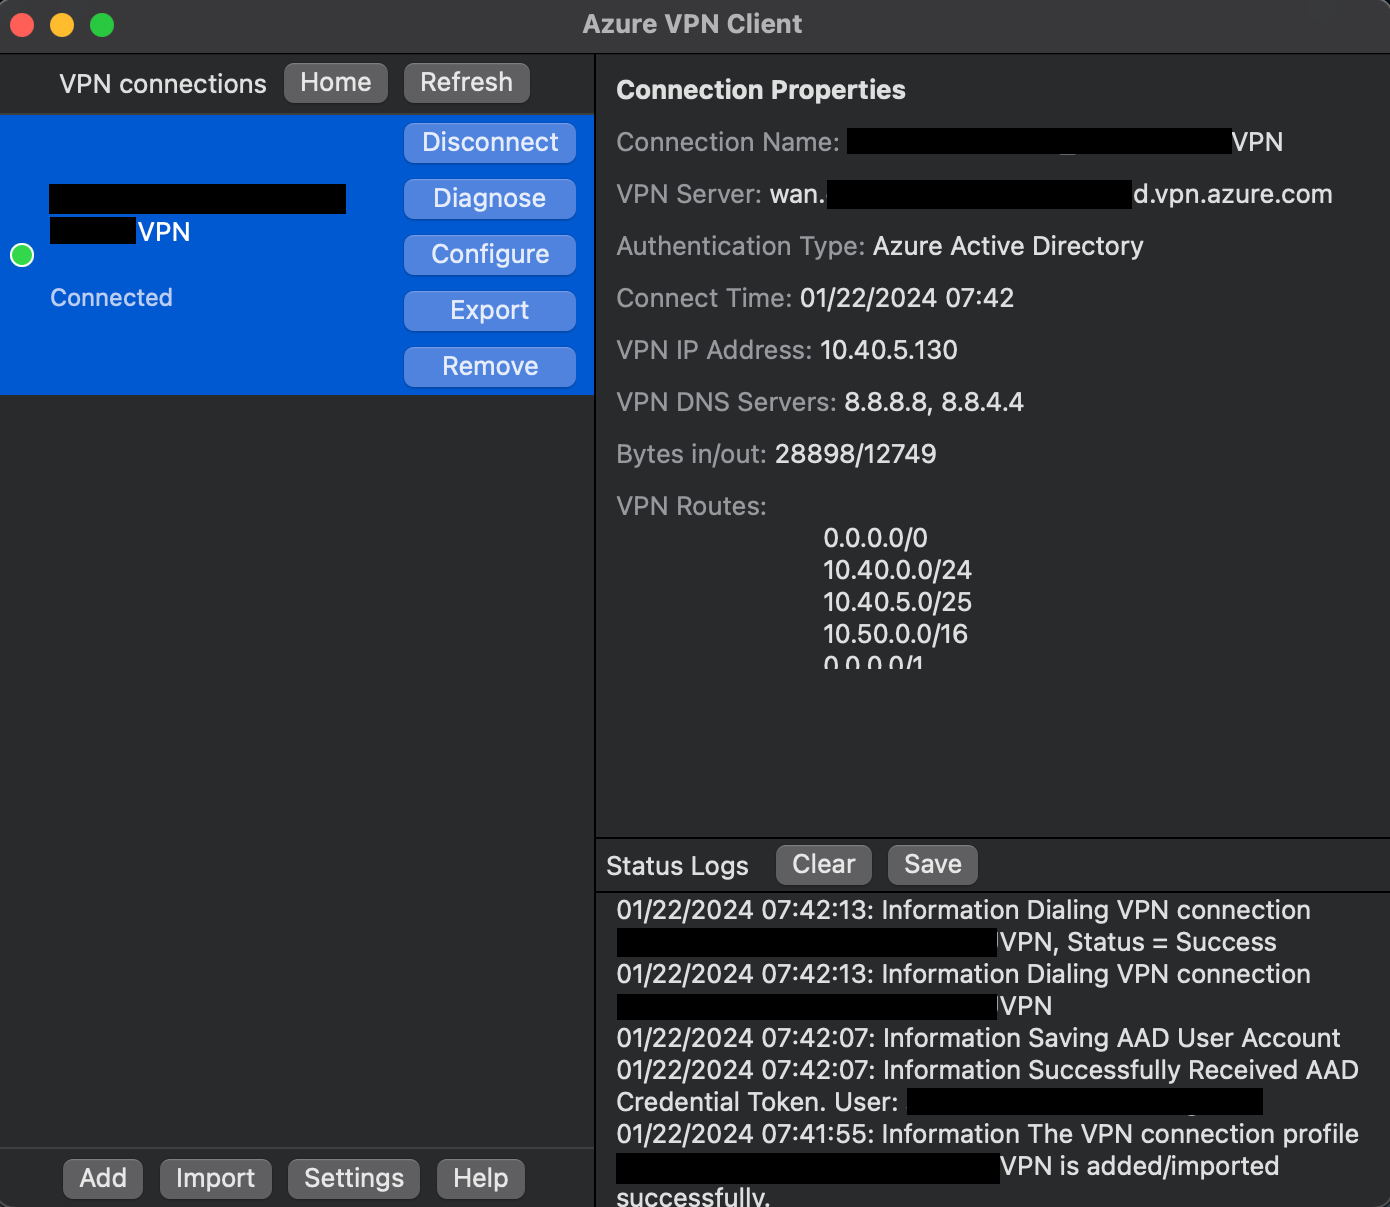
Verify the access to VNet and Internet resources.
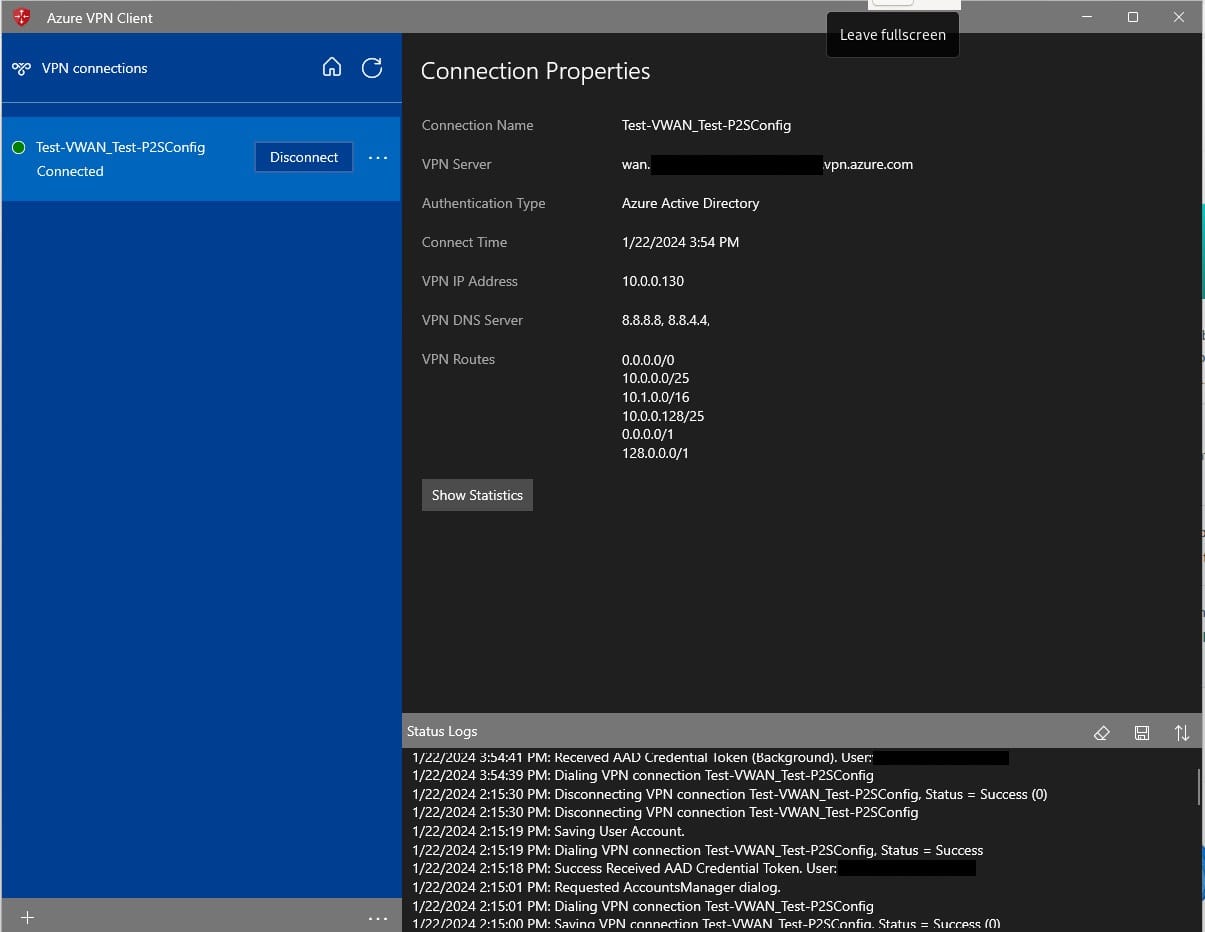
VPN Client Setup - Microsoft Windows
To connect to the VPN from the client Windows 11 machine, following are the steps.
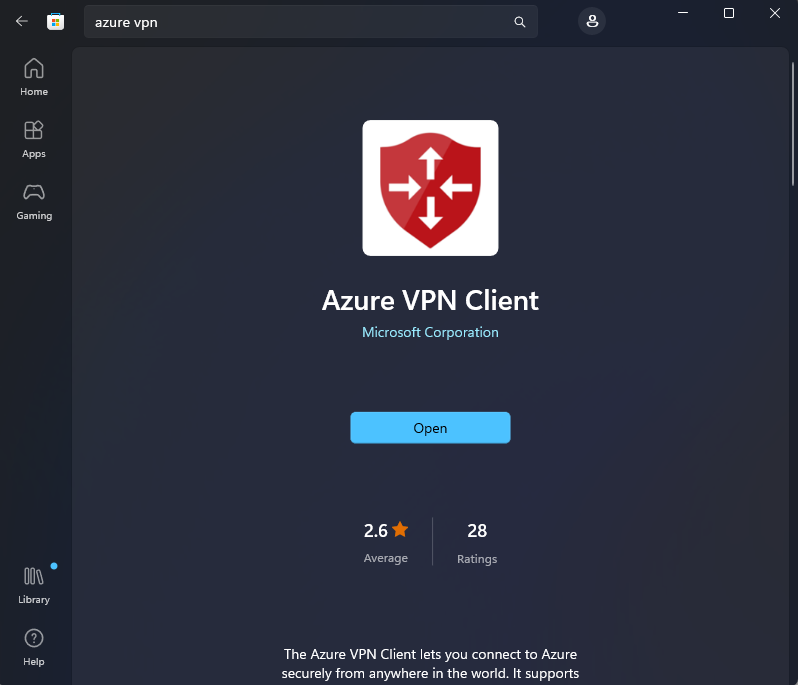
Find Azure VPN Client from Microsoft Store.
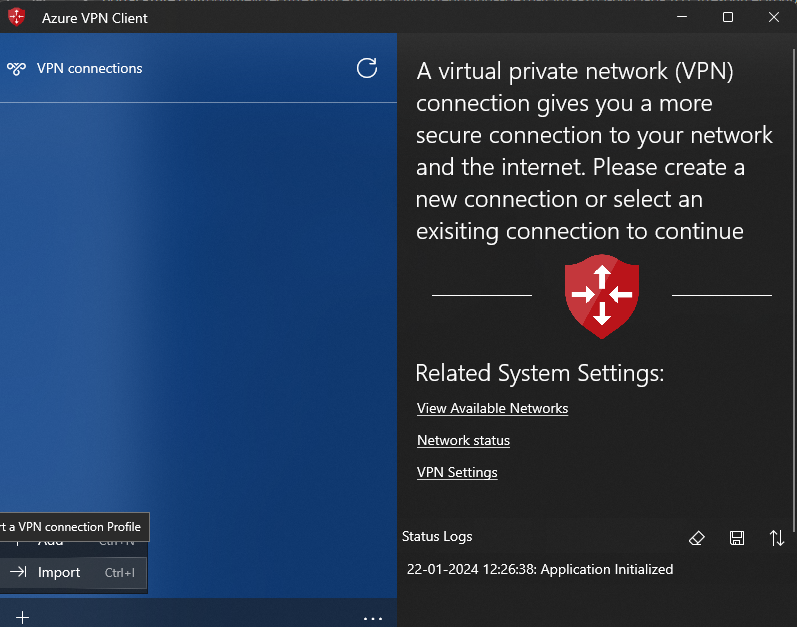
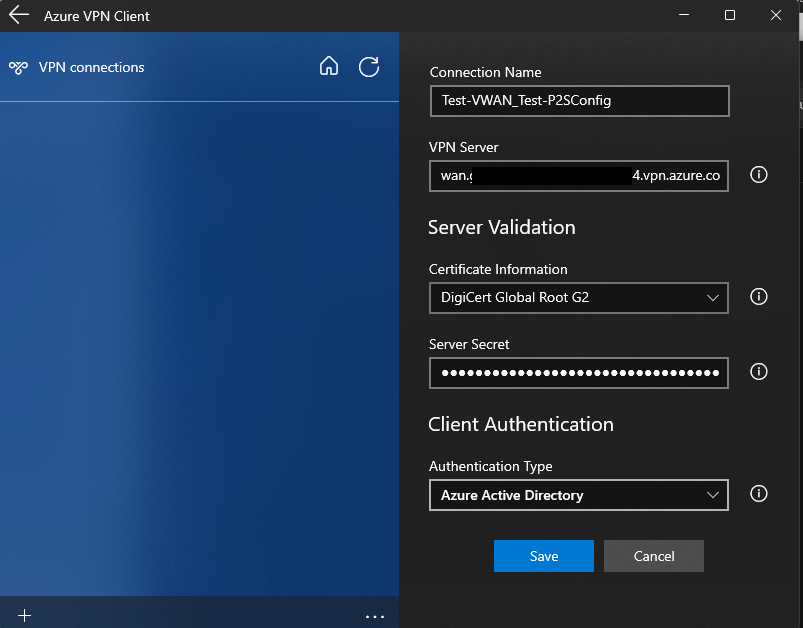
Once installed, open the application. Click on Import to import VPN xml file that we downloaded. Choose the xml file and click Open.
Click on Save.
Click on Connect.
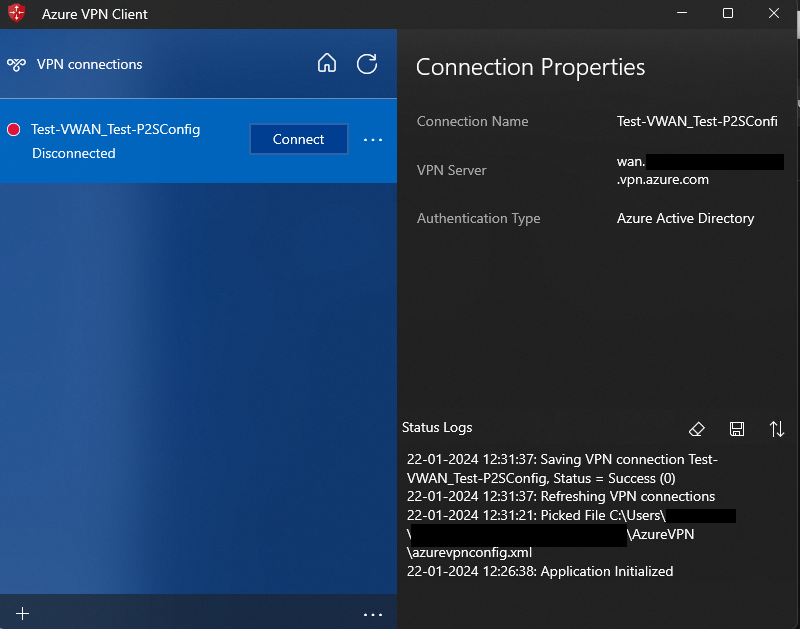
Verify the access to VNet and Internet resources.