Setting up Let's Encrypt on Amazon Linux 2 in AWS
Set up a Let's encrypt certificate on an EC2 instance running Amazon Linux 2 and renew it automatically with AWS Route 53 DNS validation.

This blog will be useful for you if you have a server on AWS running Amazon Linux 2 which your domain managed by AWS Route 53
Install Certbot
To install Certbot in Amazon Linux 2, follow the below steps
Login to server and run the following commands to install certbot and the Route 53 plugin
sudo yum install certbot python2-certbot-dns-route53 -yIf you see the following error,
Loaded plugins: extras_suggestions, langpacks, priorities, update-motd
No package certbot available.
then you have to install the epel repo with the following command
sudo amazon-linux-extras install epelSetup server IAM Permissions
While using the Route 53 plugin, it uses AWS Python SDK module boto3 to make the necessary changes in the Route 53 hosted zone for DNS validation. So that requires the server to have permission via the usual methods - access and secret key, environment variables or IAM role
Here we are going to use the IAM role method
For that login to your AWS account and go to the IAM dashboard.
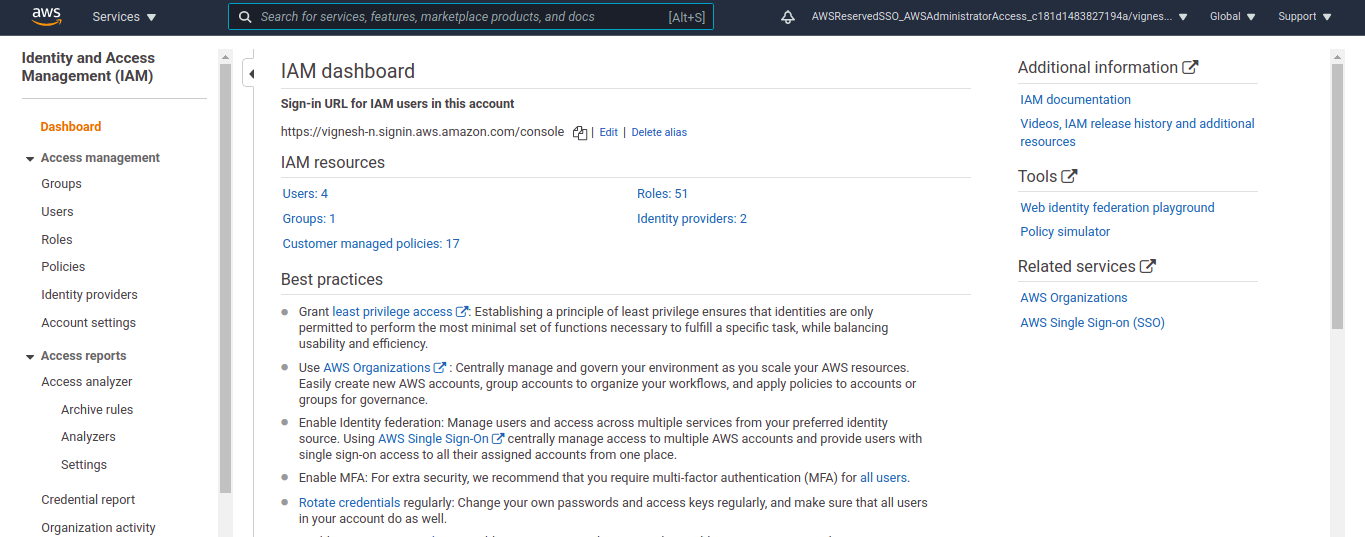
Here create a new role for the server. Click on the Create role button to create a new role

In the role creation window that opens up, select EC2 as the trusted entity and click on Next: Permissions button.

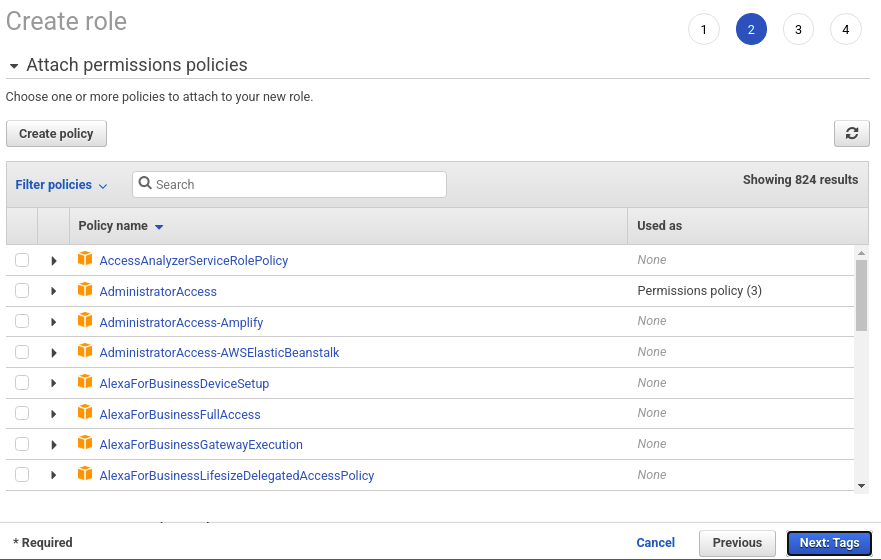
We will not be attaching any pre-existing policy, so this section can be ignored. Click the Next: Tags button to move on.
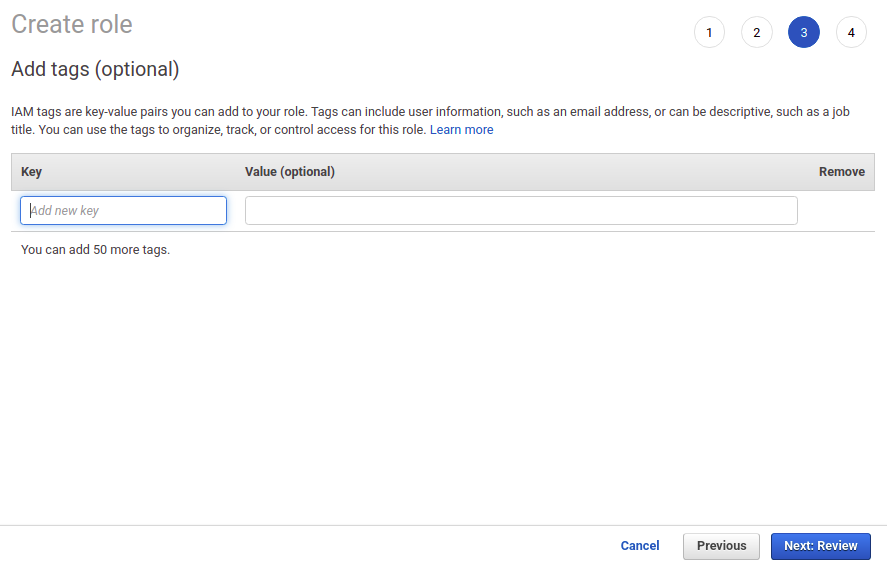
You can specify additional tags here if required. After that, hit Next: Review button to move on the to review section.
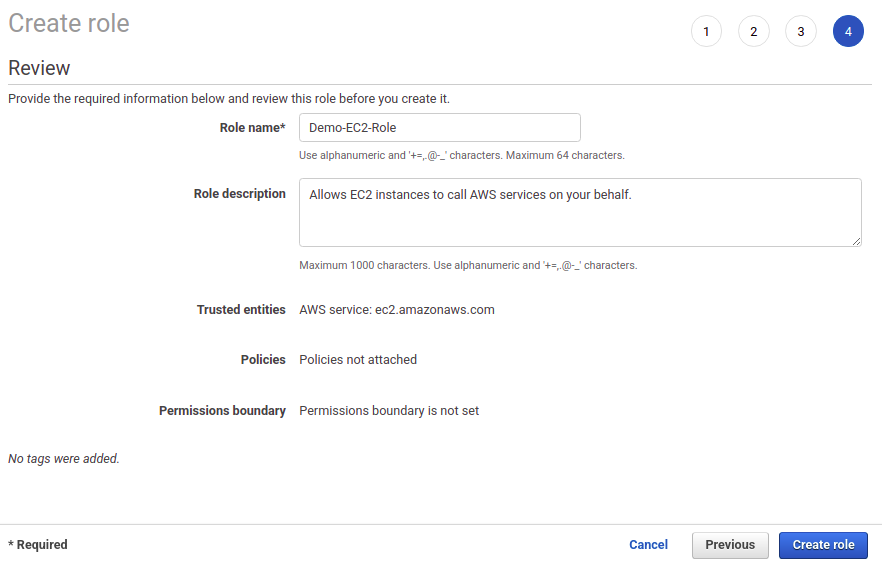
In the Review section, enter the name of the role and a description if required and create the role by clicking the Create role button.
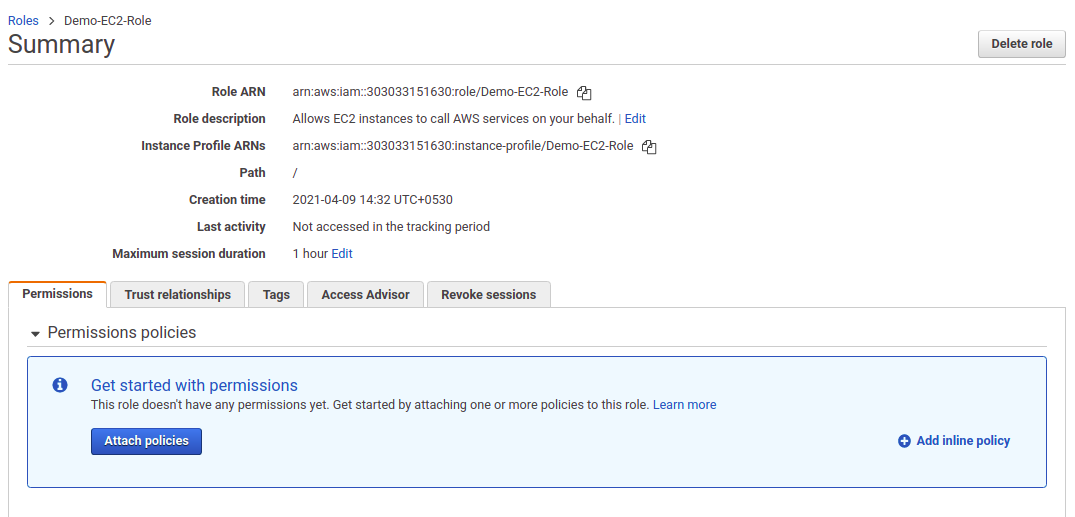
Now it opens up the created role. Here click on +Add inline policy button. This lets us add an inline policy to the role.
Since we won't be re-using this policy, it is added as an inline policy. If you need to re-use this policy for other servers, you can create a custom policy in the policy section and attach it while you create the role itself.
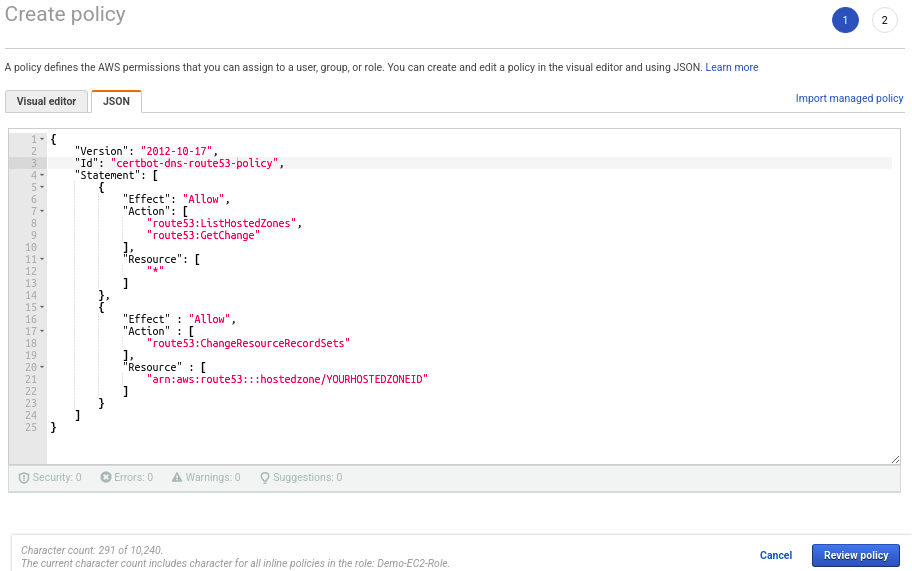
In the Create policy window, click on the JSON tab and enter the following content. Make sure the replace the YOURHOSTEDZONEID with your actual hosted zone ID for the domain.
{
    "Version": "2012-10-17",
    "Id": "certbot-dns-route53 policy",
    "Statement": [
        {
            "Effect": "Allow",
            "Action": [
                "route53:ListHostedZones",
                "route53:GetChange"
            ],
            "Resource": [
                "*"
            ]
        },
        {
            "Effect" : "Allow",
            "Action" : [
                "route53:ChangeResourceRecordSets"
            ],
            "Resource" : [
                "arn:aws:route53:::hostedzone/YOURHOSTEDZONEID"
            ]
        }
    ]
}Click on Review policy button to review the created policy.
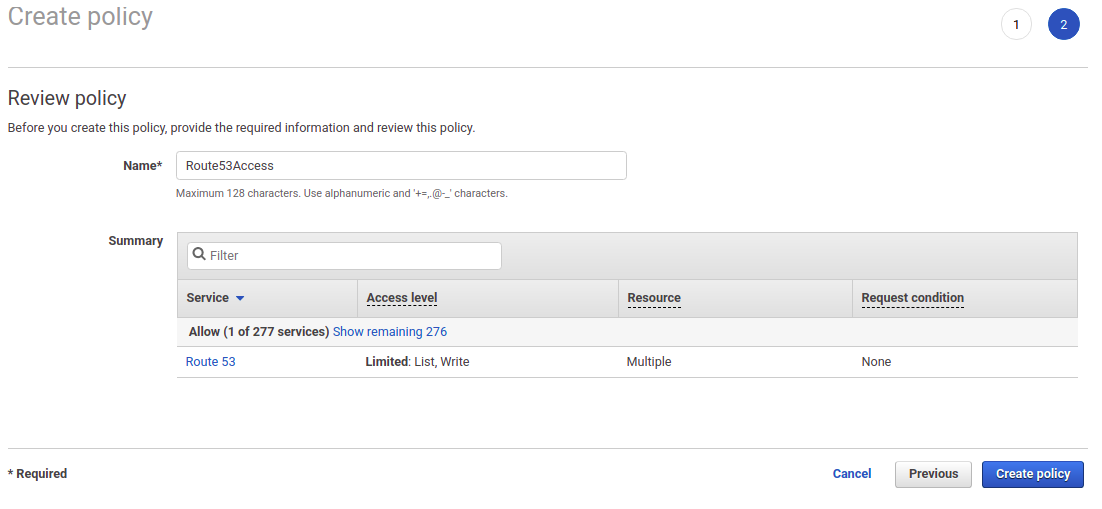
Enter a suitable name for the policy and click Create policy.
Now you'll be able to see the inline policy in the role summary page.

Generate the SSL certificate
Login to the server and run the following command to generate the SSL ceritificate
sudo certbot certonly -d *.vigneshn.in --dns-route53You can also put the following crontab entry to renew the certificate every 60 days
sudo crontab -e0 0 1 */2 * certbot renew --dns-route53